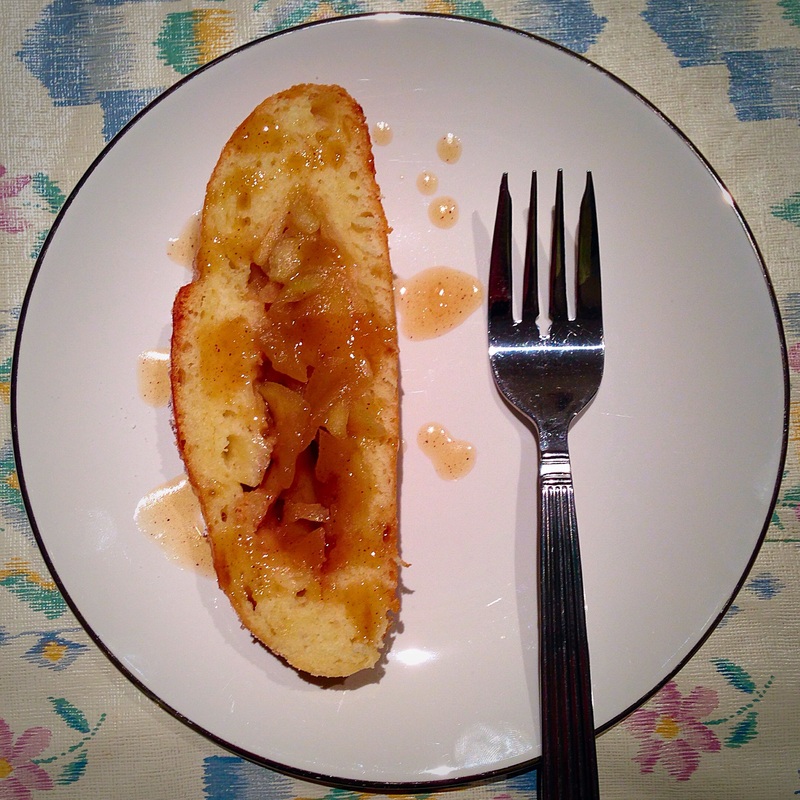
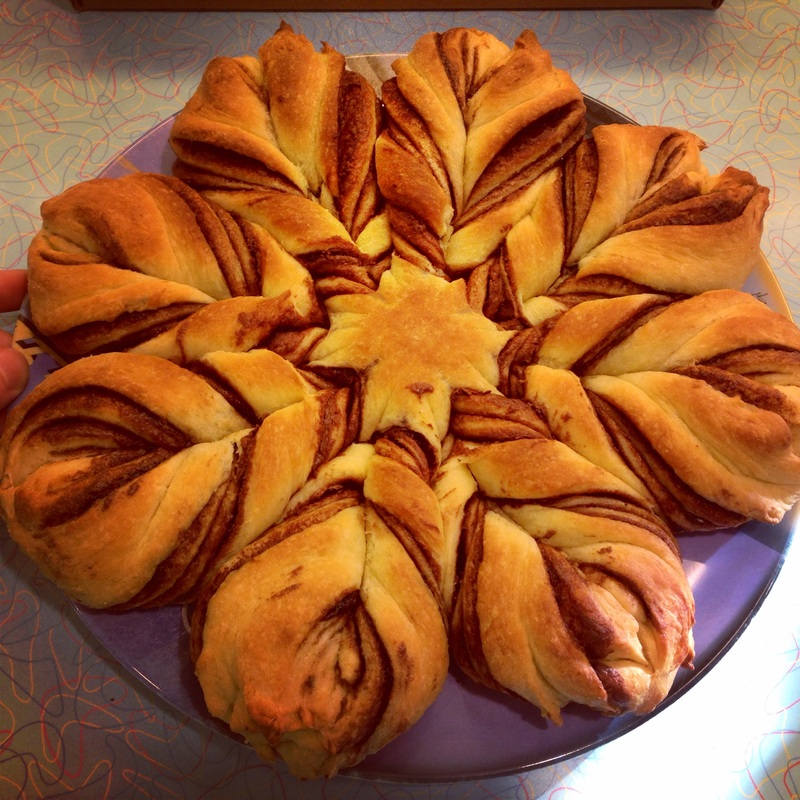
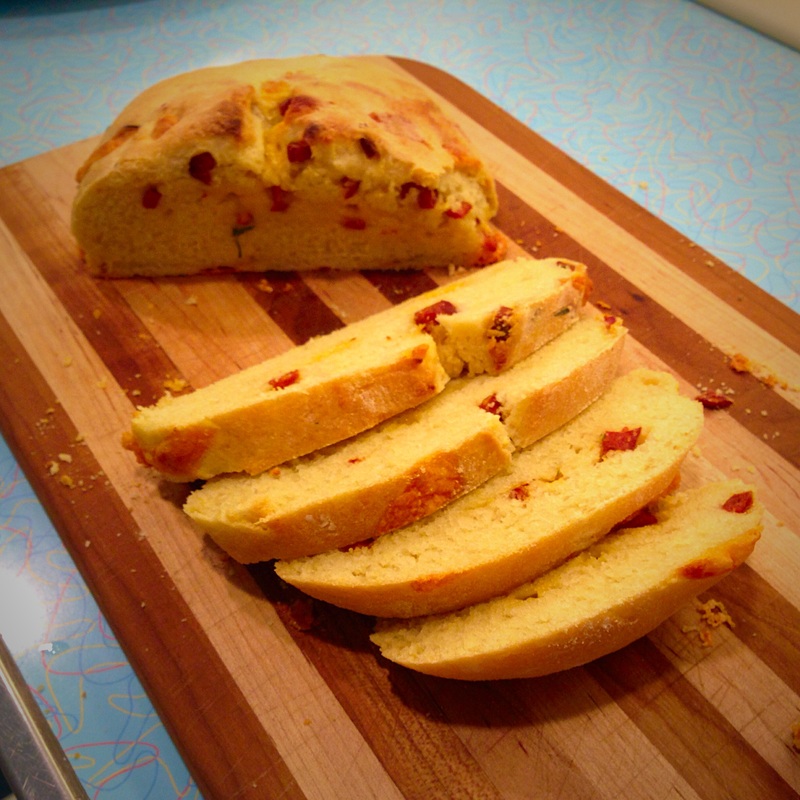
This was my first attempt at a yeasted pastry loaf that is not brioche. I searched among a number of recipes for ideas and found this solution--a yeasted bread that tastes great and looks impressive, but is not at all difficult to accomplish. The key is to keep the apples in the center 1/3 of the dough once it is rolled out, and to make sure the apple stuffing does not have too much liquid (you can save excess liquid for the glaze). The apples should not be sliced/prepared until the dough is ready to be rolled, otherwise they will oxidize (brown). This loaf cooks nicely and each slice displays a golden core of apples. This yields one rather large loaf.

Yield: 1 large Apple loaf (serves 8-10)
Ingredients:
For the dough:
2 1/2 cups all-purpose flour
2 Tbsp warm water
2 1/4 instant yeast
1/4 Tsp sugar (for yeast activation)
1/2 cup whole milk
6 Tbsp sugar
5 Tbsp unsalted butter, cut in chunks
1 Tsp salt
2 egg yolks
For apple stuffing:
3-4 medium sized golden delicious apples (or Granny smith--the idea is low water content)--skin peeled, cored, cut into 0.5cm slices
1/2 cup brown sugar
1 Tsp of lemon juice (to prevent apples from browning)
1/3 cup cookie crumbs (lady fingers, vanilla, or butter cookies)
1 1/2 Tsp cinnamon (or cinnamon sugar)
1 whole egg, beaten (for eggwash)
For glaze:
If you have juice left over from simmering the apples, you can add Confectioner's sugar to this until it thickens, and use this as a glaze!
Alternatively, whisk the following ingredients together in a bowl:
1 cup powdered sugar
1 Tbsp + 2 Tsp whole milk
1/4 Tsp vanilla extract
1/4 Tsp kosher salt
Directions:
For the dough:
1) Place 2 tbsp of warm water and the 1/4 Tsp sugar in a small bowl. Stir in the yeast and let stand in a warm place until the mixture foams, about 10-15 minutes.
2) Stir the milk, sugar, butter chunks, and salt in a medium pot over medium heat until the sugar dissolves and the butter melts (mixture should be warm, not hot).
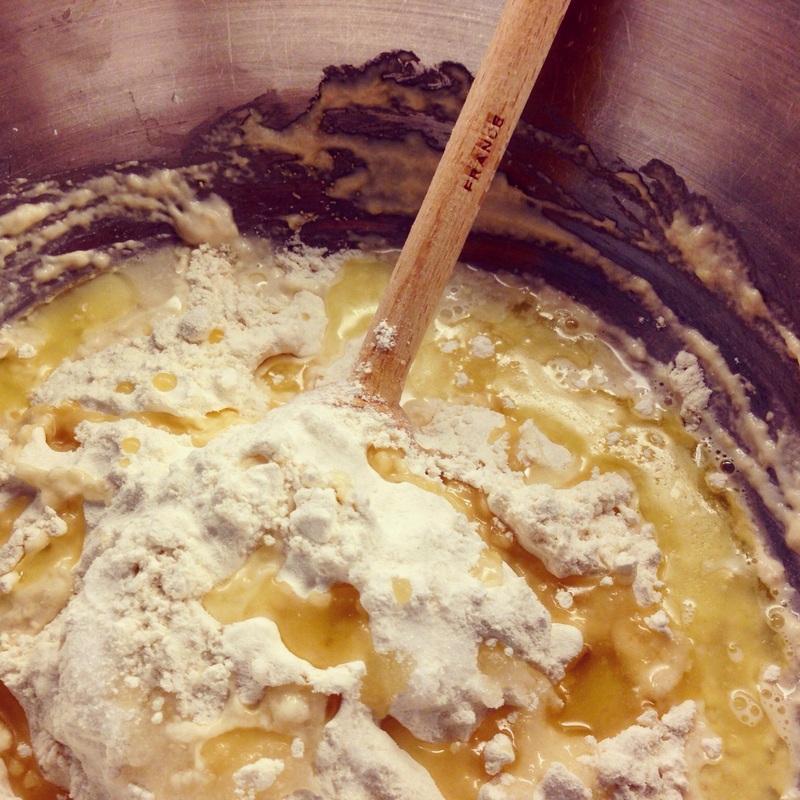
3) Transfer this warm butter mixture into a medium/large bowl. Then whisk in the yeast mixture, and egg yolks. Add the flour, stirring with a wooden spoon until the dough comes together. You can knead the dough with a hook (mixer) for 6 minutes, OR if you don’t have a mixer you can knead by hand for about 8-10 minutes.
4) Transfer dough to a clean (large) bowl lightly sprayed with oil. Cover with oiled plastic wrap and let rise until almost doubled, about 1.5-2hrs (for this step, I often preheat my oven to 200F just for a moment, then I turn if off for a few minutes and place my dough bowl in there with the oven light on. It works very well.
5) Let the dough rise until almost doubled in volume, about 1 ½-2 hrs. Gently punch the dough down in the bowl and let the dough rest in the bowl on the counter for about 45-60min while you work on the filling.
For the filling:
6) Peel and slice the apples and toss in the lemon juice (to prevent browning). Melt the butter in a medium pot over the medium heat. Add the brown sugar and cinnamon. Cook until a grainy sauce forms, about 1 minute. Mix in the apple slices. Cook until the apples are tender and the sauce is reduced to glaze, about 7-10 minutes, stirring often to avoid scorching. Cool the filling for least 30 minutes and. Set the apple stuffing aside and return to the dough!
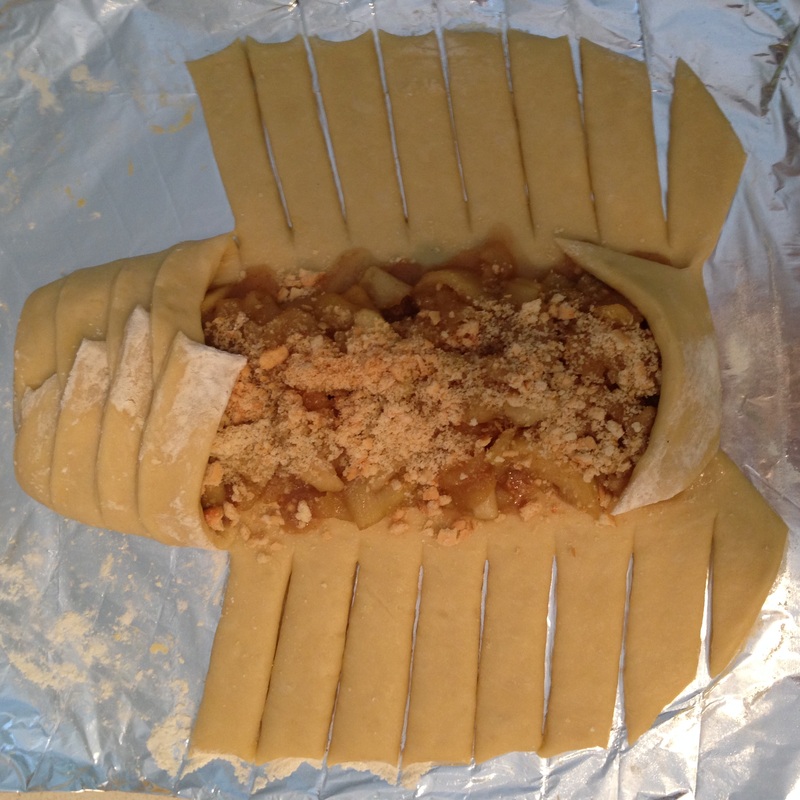
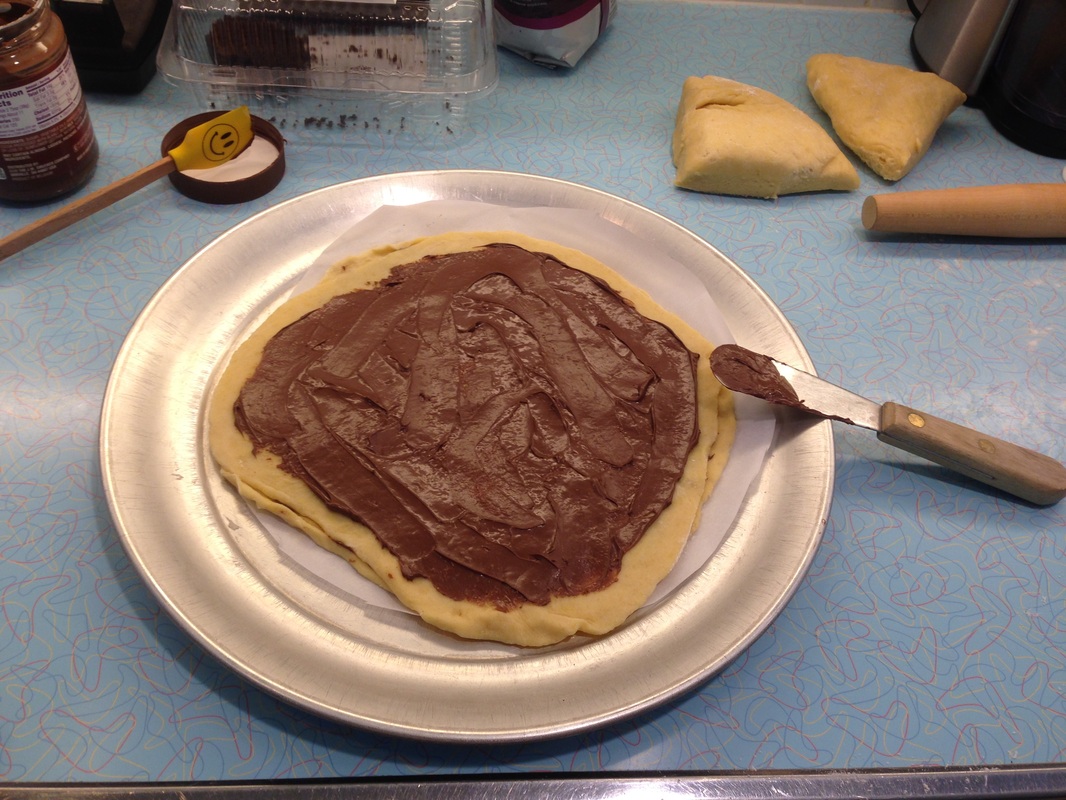
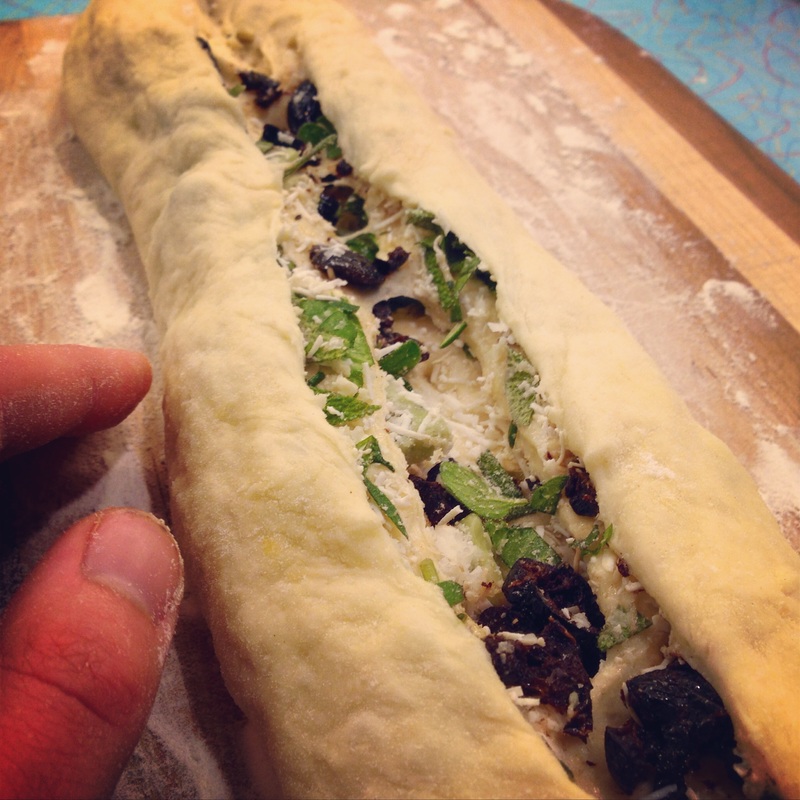
7) Place a large sheet of aluminum foil on a work surface. Spray with nonstick spray and lightly dust with flour. Turn the dough out onto the foil and roll out to 14×12-inch (30x35-cm) rectangle. Sprinkle the cookie crumbs lengthwise (in the longer, 14inch or 35cm direction) in the middle 1/3 of the rectangle leaving ½ inch (about 1.5cm) border at the top and bottom of the rectangle.
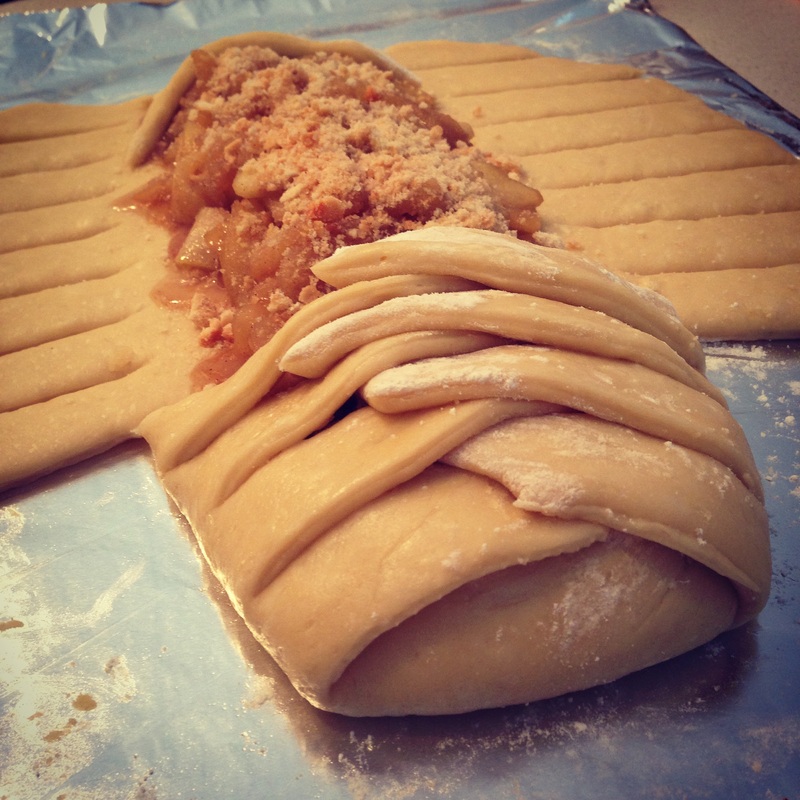
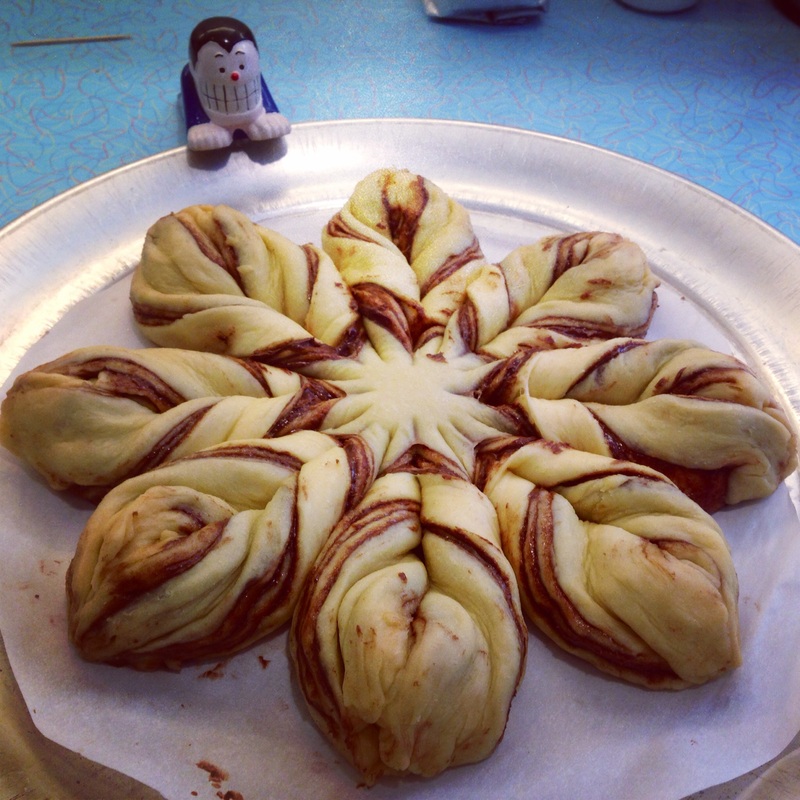
8) Arrange the apples with any juices over the crumbs. Starting ½ inch (1.5cm) from the each long side of the apple filling, cut the dough at a slight diagonal to the top edge of the rectangle at 1-inch (2.5cm) interval, making about 12-13 strips on each side. See pictures above for reference. Fold the dough strips alternately, left then right, and on a slight angle over the filling. This forms the lattice. Seal the open ends of the dough. You should not be able to see an escape route for apples!
9) Slide the loaf (keep it on the foil) onto a large baking sheet. Roll the sides of the foil up a bit to contain juices if your lattice leaks--if you braided it without gaps, you should be fine!). Cover the loaf loosely with oil-sprayed plastic and let the dough rise in the warm place until light and puffy, about 30-60min.
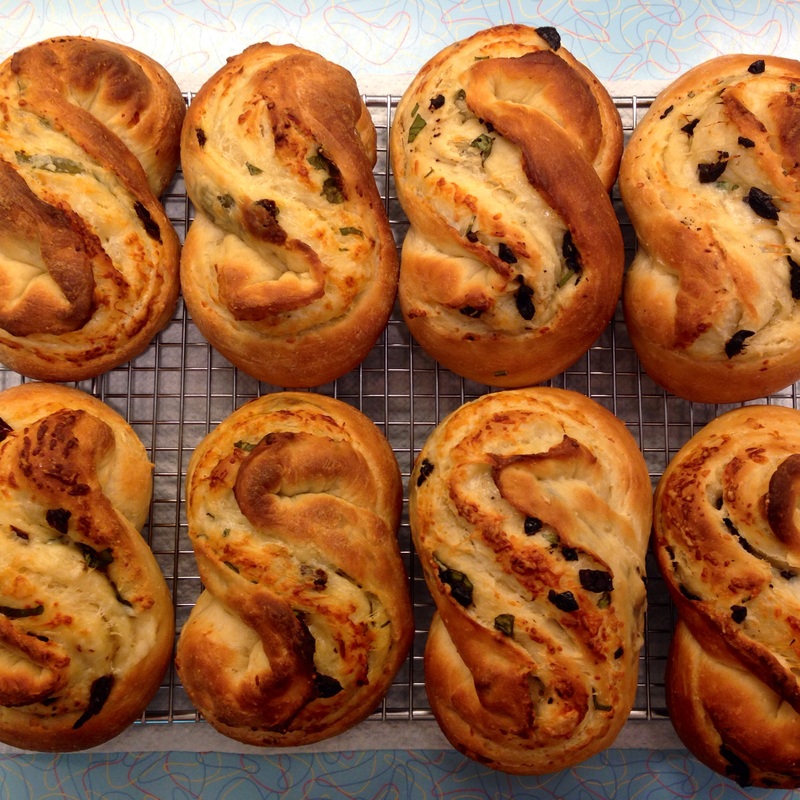
10) Preheat the oven to 375F. Gently brush the loaf with the egg wash. This will especially help to seal the braid. Bake until golden brown, about 25-30 minutes. Let cool on foil over wire rack for 30 minutes. When cool, use a spatula to gently separate the loaf from the aluminum and transfer to a large serving dish.
11) At this point you can add the glaze and sift Confectioner's sugar over the top as desired:
For the glaze:
If you have juice left over from simmering the apples, you can add Confectioner's sugar and stir until it thickens. You can use this as a glaze or a sauce to drizzle over your slices. Alternatively, whisk the above-listed ingredients together in a bowl.
Serve the cake slightly warm or at room temperature.
NOTE: Due to lack of preservatives in the dough, the loaf tastes the best within the first few hours or days of baking. I would recommend freezing the loaf you plan to eat it more than 2-3 days after baking, as it will rapidly become stale.
Ingredients:
For the dough:
2 1/2 cups all-purpose flour
2 Tbsp warm water
2 1/4 instant yeast
1/4 Tsp sugar (for yeast activation)
1/2 cup whole milk
6 Tbsp sugar
5 Tbsp unsalted butter, cut in chunks
1 Tsp salt
2 egg yolks
For apple stuffing:
3-4 medium sized golden delicious apples (or Granny smith--the idea is low water content)--skin peeled, cored, cut into 0.5cm slices
1/2 cup brown sugar
1 Tsp of lemon juice (to prevent apples from browning)
1/3 cup cookie crumbs (lady fingers, vanilla, or butter cookies)
1 1/2 Tsp cinnamon (or cinnamon sugar)
1 whole egg, beaten (for eggwash)
For glaze:
If you have juice left over from simmering the apples, you can add Confectioner's sugar to this until it thickens, and use this as a glaze!
Alternatively, whisk the following ingredients together in a bowl:
1 cup powdered sugar
1 Tbsp + 2 Tsp whole milk
1/4 Tsp vanilla extract
1/4 Tsp kosher salt
Directions:
For the dough:
1) Place 2 tbsp of warm water and the 1/4 Tsp sugar in a small bowl. Stir in the yeast and let stand in a warm place until the mixture foams, about 10-15 minutes.
2) Stir the milk, sugar, butter chunks, and salt in a medium pot over medium heat until the sugar dissolves and the butter melts (mixture should be warm, not hot).
3) Transfer this warm butter mixture into a medium/large bowl. Then whisk in the yeast mixture, and egg yolks. Add the flour, stirring with a wooden spoon until the dough comes together. You can knead the dough with a hook (mixer) for 6 minutes, OR if you don’t have a mixer you can knead by hand for about 8-10 minutes.
4) Transfer dough to a clean (large) bowl lightly sprayed with oil. Cover with oiled plastic wrap and let rise until almost doubled, about 1.5-2hrs (for this step, I often preheat my oven to 200F just for a moment, then I turn if off for a few minutes and place my dough bowl in there with the oven light on. It works very well.
5) Let the dough rise until almost doubled in volume, about 1 ½-2 hrs. Gently punch the dough down in the bowl and let the dough rest in the bowl on the counter for about 45-60min while you work on the filling.
For the filling:
6) Peel and slice the apples and toss in the lemon juice (to prevent browning). Melt the butter in a medium pot over the medium heat. Add the brown sugar and cinnamon. Cook until a grainy sauce forms, about 1 minute. Mix in the apple slices. Cook until the apples are tender and the sauce is reduced to glaze, about 7-10 minutes, stirring often to avoid scorching. Cool the filling for least 30 minutes and. Set the apple stuffing aside and return to the dough!
7) Place a large sheet of aluminum foil on a work surface. Spray with nonstick spray and lightly dust with flour. Turn the dough out onto the foil and roll out to 14×12-inch (30x35-cm) rectangle. Sprinkle the cookie crumbs lengthwise (in the longer, 14inch or 35cm direction) in the middle 1/3 of the rectangle leaving ½ inch (about 1.5cm) border at the top and bottom of the rectangle.
8) Arrange the apples with any juices over the crumbs. Starting ½ inch (1.5cm) from the each long side of the apple filling, cut the dough at a slight diagonal to the top edge of the rectangle at 1-inch (2.5cm) interval, making about 12-13 strips on each side. See pictures above for reference. Fold the dough strips alternately, left then right, and on a slight angle over the filling. This forms the lattice. Seal the open ends of the dough. You should not be able to see an escape route for apples!
9) Slide the loaf (keep it on the foil) onto a large baking sheet. Roll the sides of the foil up a bit to contain juices if your lattice leaks--if you braided it without gaps, you should be fine!). Cover the loaf loosely with oil-sprayed plastic and let the dough rise in the warm place until light and puffy, about 30-60min.
10) Preheat the oven to 375F. Gently brush the loaf with the egg wash. This will especially help to seal the braid. Bake until golden brown, about 25-30 minutes. Let cool on foil over wire rack for 30 minutes. When cool, use a spatula to gently separate the loaf from the aluminum and transfer to a large serving dish.
11) At this point you can add the glaze and sift Confectioner's sugar over the top as desired:
For the glaze:
If you have juice left over from simmering the apples, you can add Confectioner's sugar and stir until it thickens. You can use this as a glaze or a sauce to drizzle over your slices. Alternatively, whisk the above-listed ingredients together in a bowl.
Serve the cake slightly warm or at room temperature.
NOTE: Due to lack of preservatives in the dough, the loaf tastes the best within the first few hours or days of baking. I would recommend freezing the loaf you plan to eat it more than 2-3 days after baking, as it will rapidly become stale.


 RSS Feed
