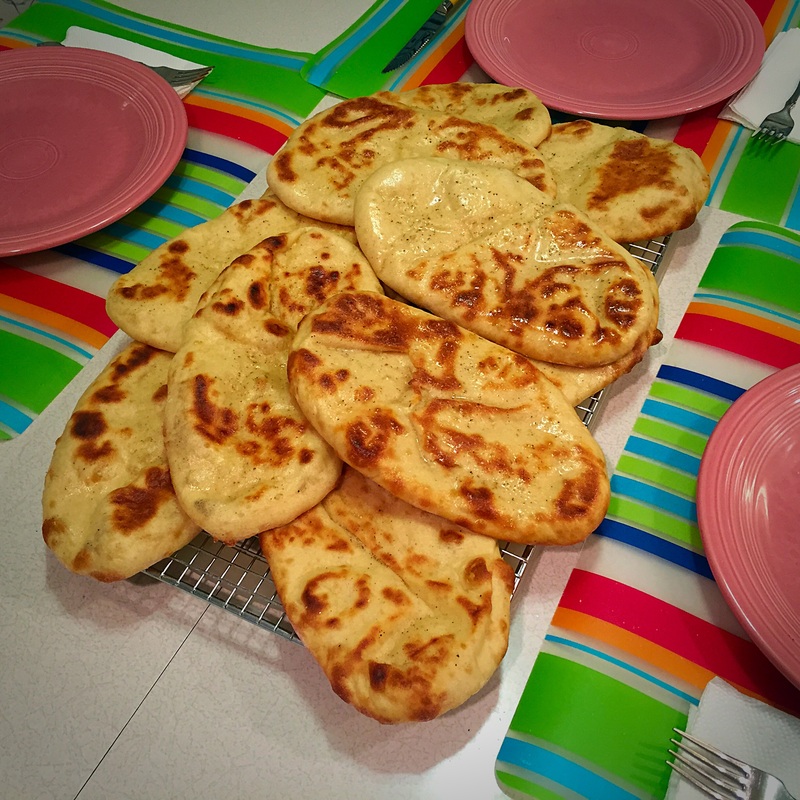
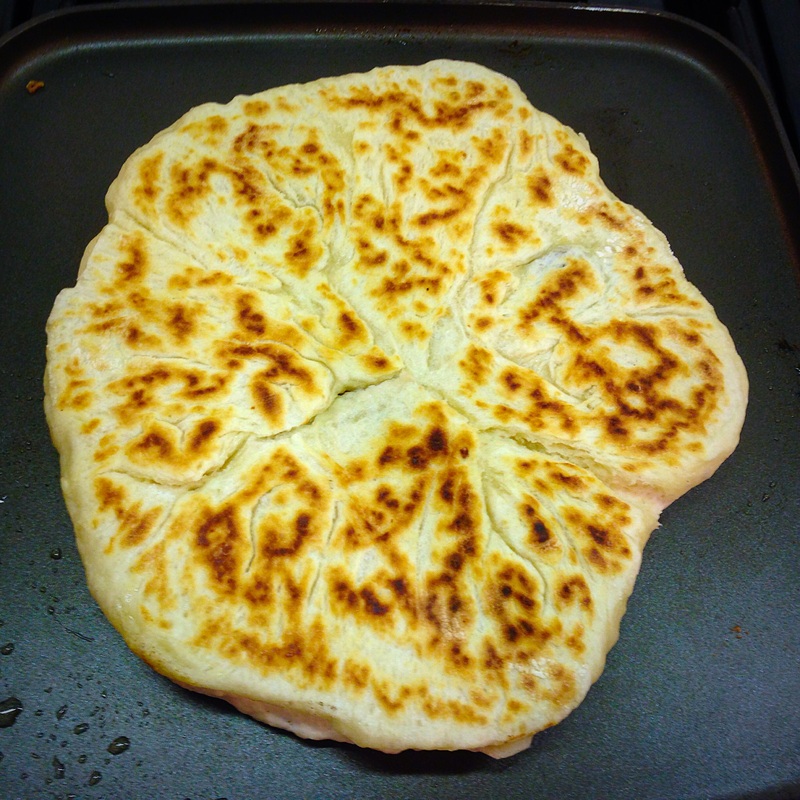
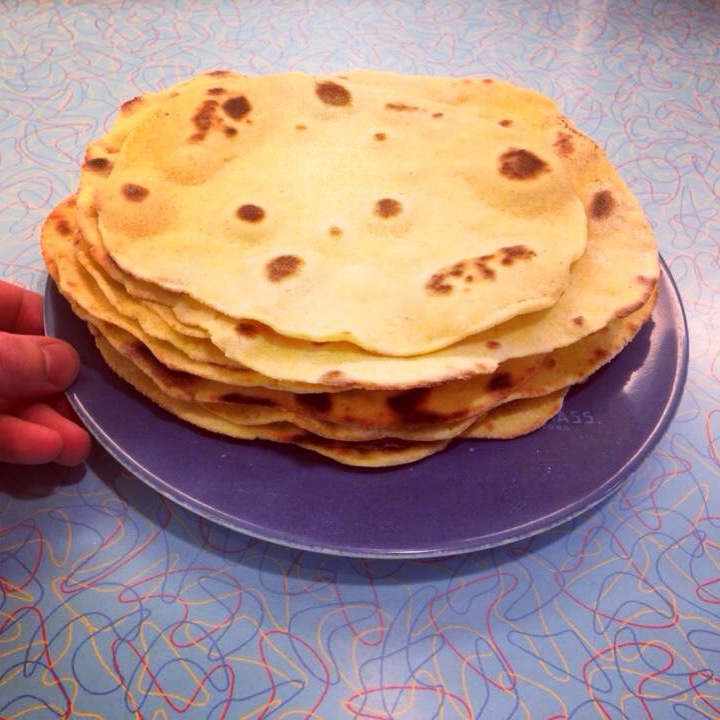
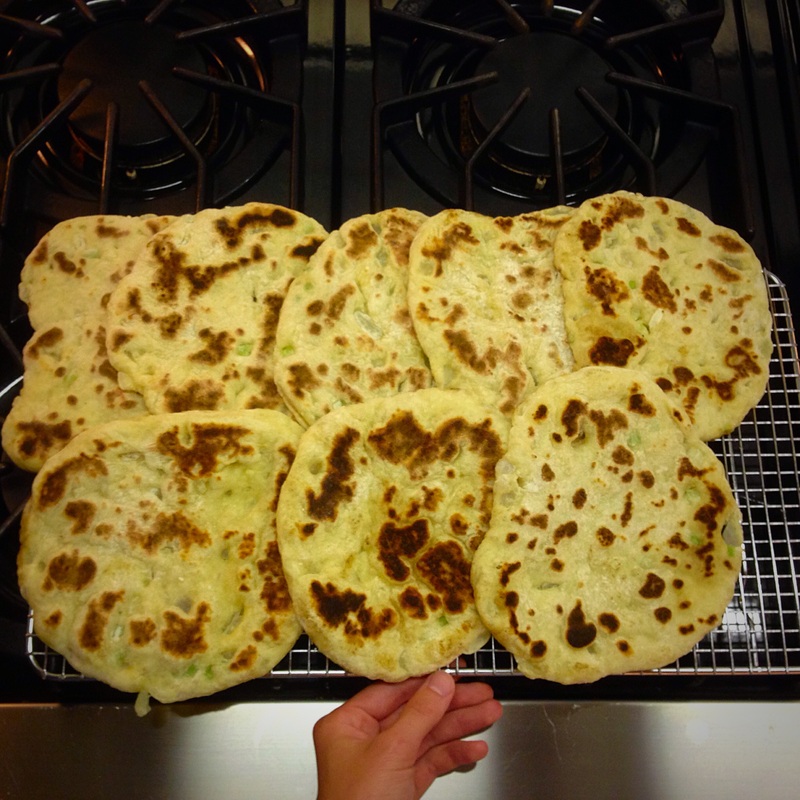
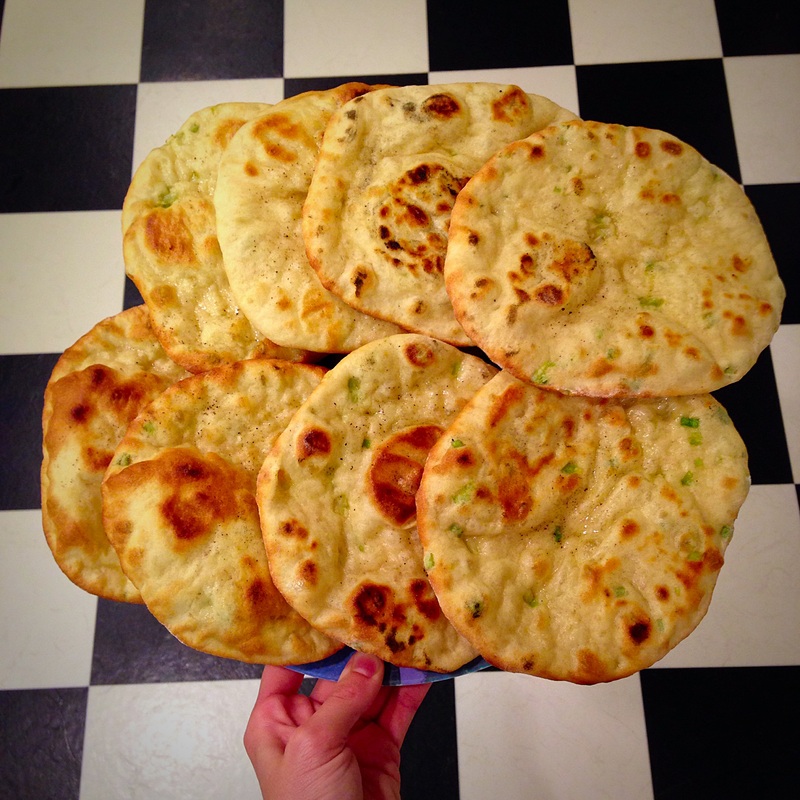
This is a fantastic Naan recipe that I learned in my culinary class in Manhattan a few years back. I've tried other recipes and this one continues to be my favorite. Ideally and traditionally you would use a clay/metal tandoor oven to make this Indian flatbread, but it can be accomplished quite well both stove-top or on the bricks in a home oven (my preferred method) with a slight variation in appearance. The dough is smooth and easy to work with, and if your oven (heat source) is truly hot enough, they will puff like balloons before they collapse into marbled-brown perfection. I do have more success with the puffing in the brick oven, but the taste is great either way.


Yield: 12 medium-large Naan breads
Ingredients:
For dough:
2 lbs AP or bread flour
3/4 lb warm water, about 95F (you may need to gradually add more water if your mix is too dry)
1 tsp instant yeast
3/4 tsp salt
3/4 tsp sugar
1 large egg, lightly stirred
1/3 cup milk (whole, 2%)
6 oz plain yogurt
1/6 cup olive oil
1 tsp spices (optional--paprika, nutmeg, cumin, saffron, pepper...whatever you like)
For brushing after baking:
Melted butter, 3-4 TBSP
Salt + pepper + herbs/spices, to taste
Other supplies:
Rolling pin
Large bowls for mixing and proofing
Cast-iron skillet or pizza stone/bricks in an oven
Wooden board/pizza peel for loading into the brick oven
Directions:
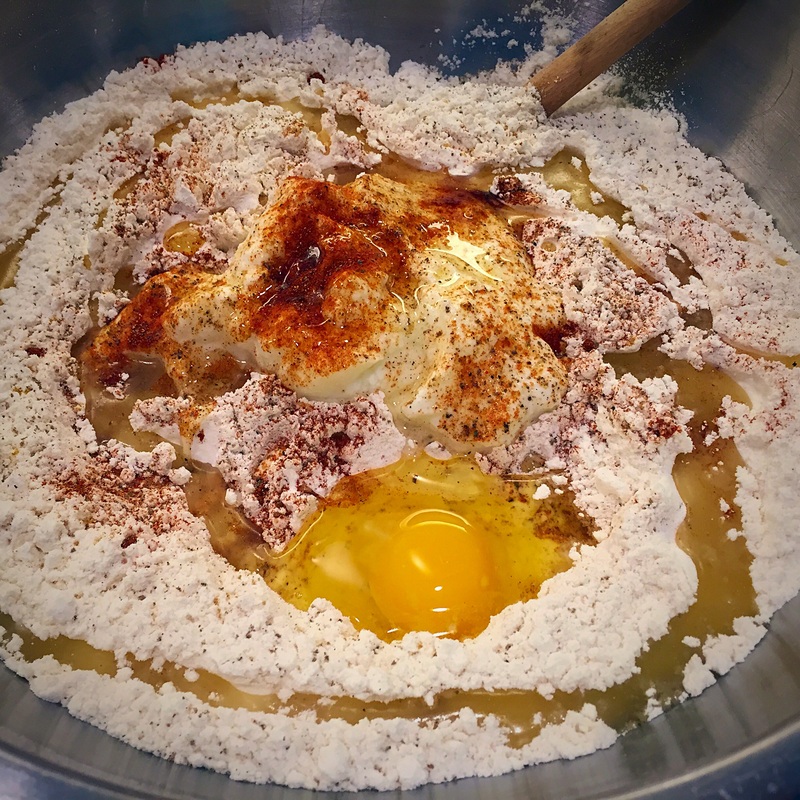
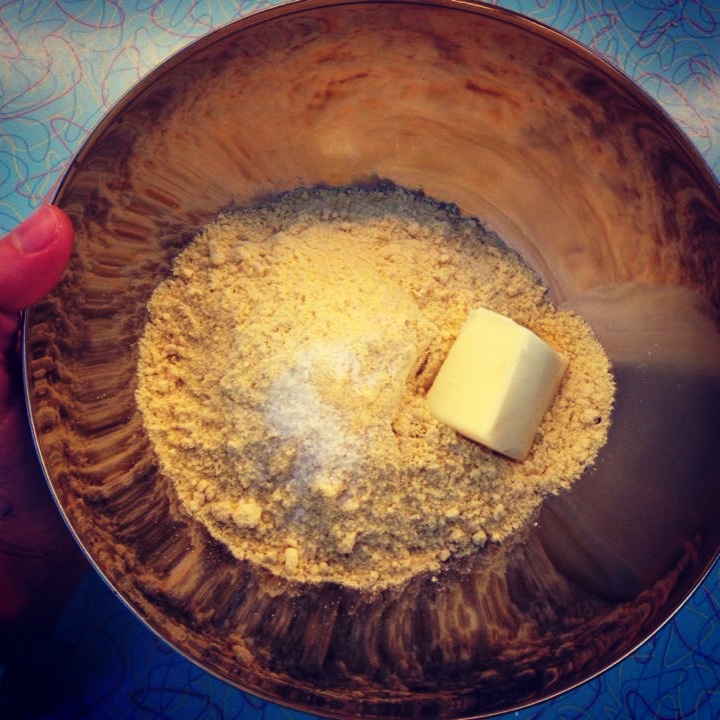
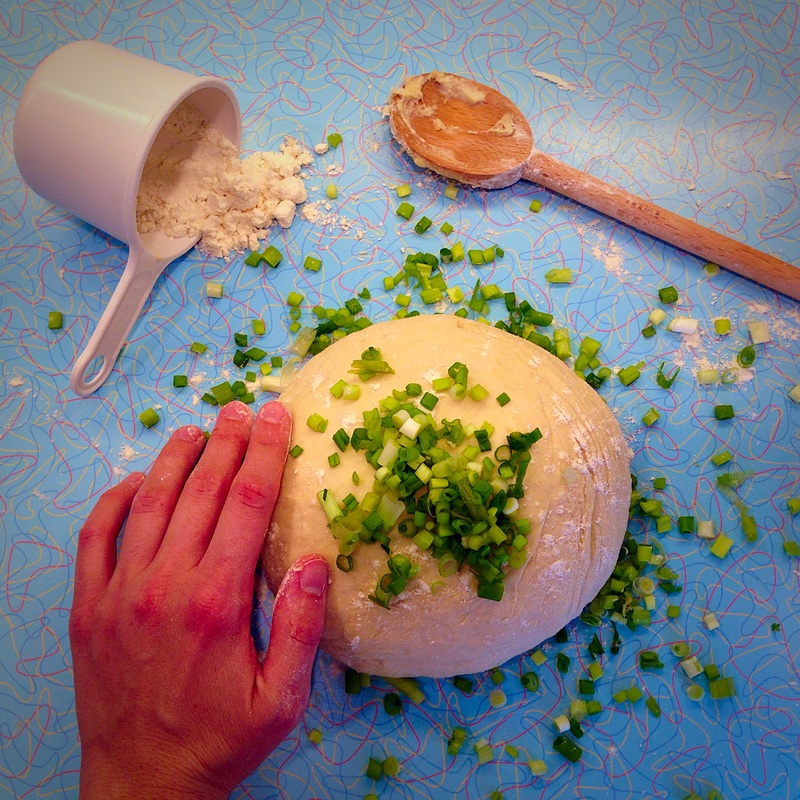
1) In a large bowl, mix the flour, salt, sugar, instant yeast, and any spices together with a spoon until evenly blended. Then add the warm water, egg, milk, yogurt, and olive oil.
2) Stir continuously, and be sure to incorporate all of the flour and ingredients together in the bowl. Depending on the conditions/humidity in your kitchen, you may need to gradually add more flour if the well-blended mix is wet, or more water if the well-blended mix is too dry/crumbly.
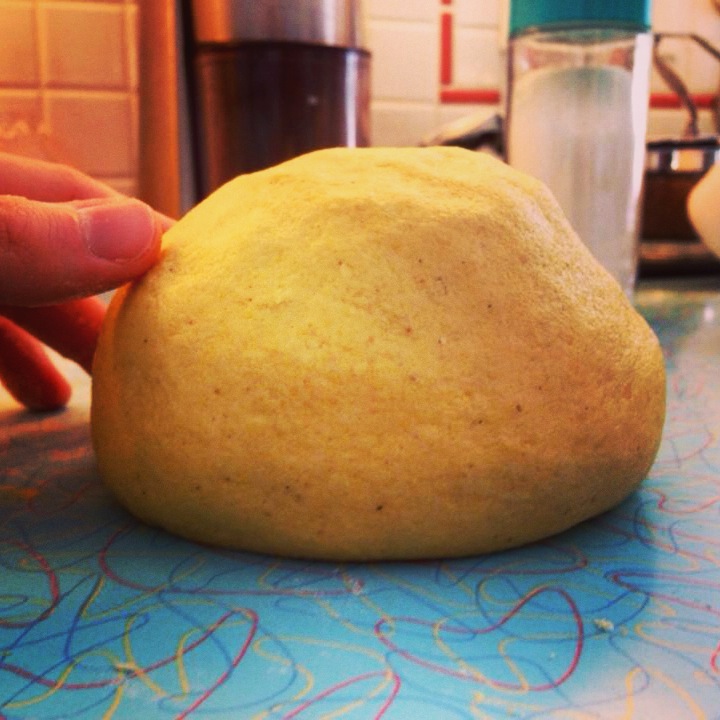
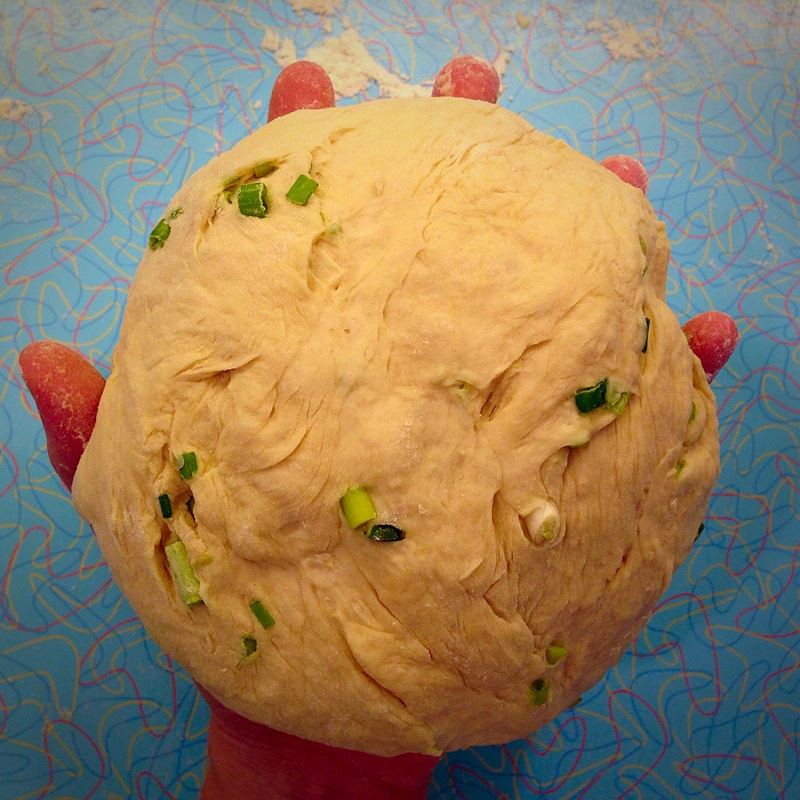
3) Once you've achieved a dough that is slightly tacky in consistency, transfer it to a floured counter and begin to knead the dough, turning it 90 degrees after each push. Continue for about 3 minutes, gently adding flour if it is too sticky. Ultimately the dough should have a very silky, smooth appearance and texture with no discolorations or lumps.
4) Grease a clean, large bowl and transfer your smooth dough into the bowl. Cover with plastic wrap and let rest in a warm area until approximately doubled, about 2-3 hours.
5) Your bread needs to rise only one more time at this point. If you are going to do this in the oven, preheat your oven to 500F (or its highest setting--hotter is better). If you are going to do this stove top, you can start heating a lightly oiled skilled a few minutes before you place your round naans on top of it.
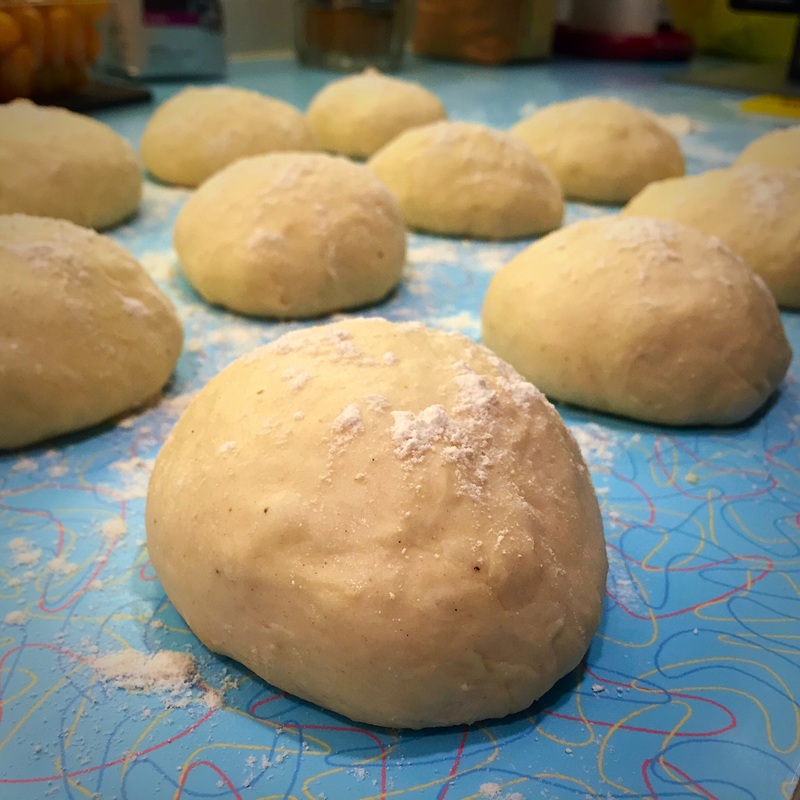
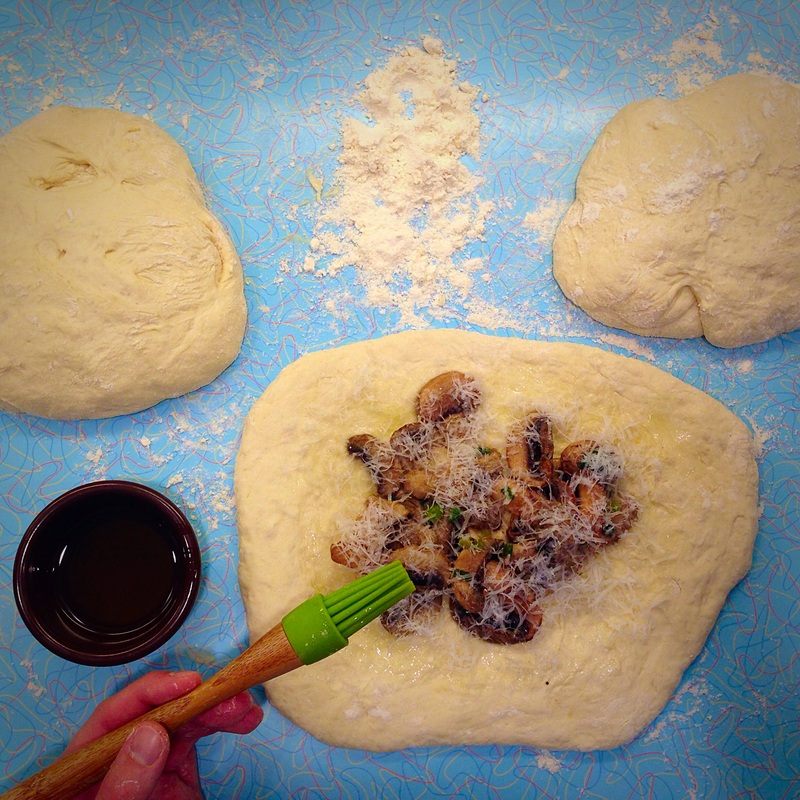
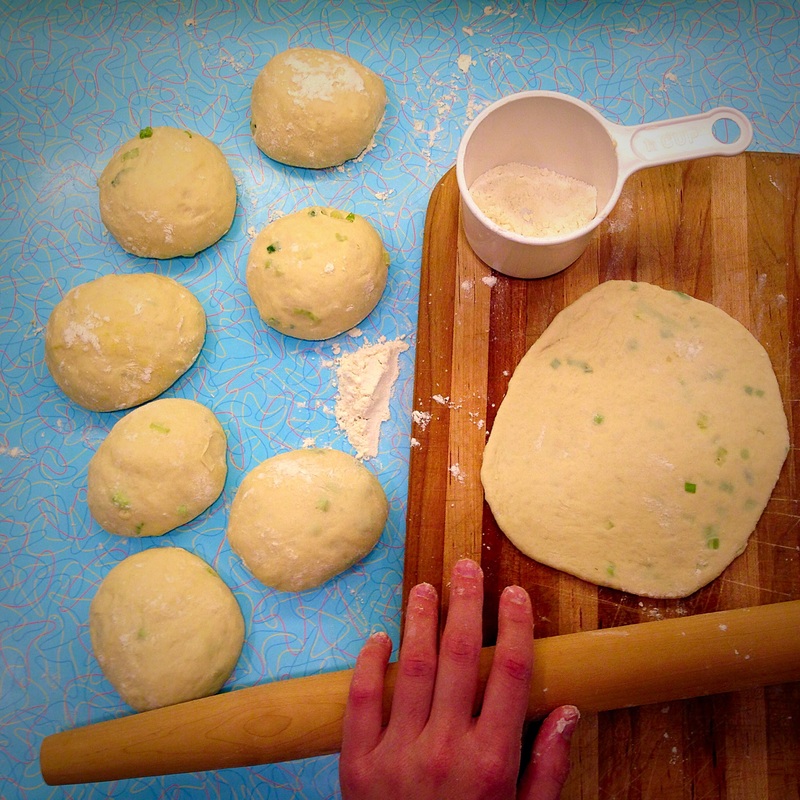
6) Remove the dough from the bowl and transfer to a lightly oiled (I use olive oil) working space. Use a knife to divide the dough into 12 roughly even pieces. Grab the ends of each piece, pinch them together, and roll each piece into a ball/round on the counter with the seam-side down. Do this 12 times so you have 12 balls of dough (see photos above). Cover with plastic wrap on the counter top and let rest for about 20-30min while your oven preheats and the stone becomes very hot (this takes time)
7) Your oven is preheated, your dough has relaxed for 20-30min and you are now ready to shape it. Get some flour to keep near your work area because you may need to add some to your rolling pin or the work area if the dough sticks. Also get a cooling rack or dish where you can place your cooked naan and brush them with butter when they are done.
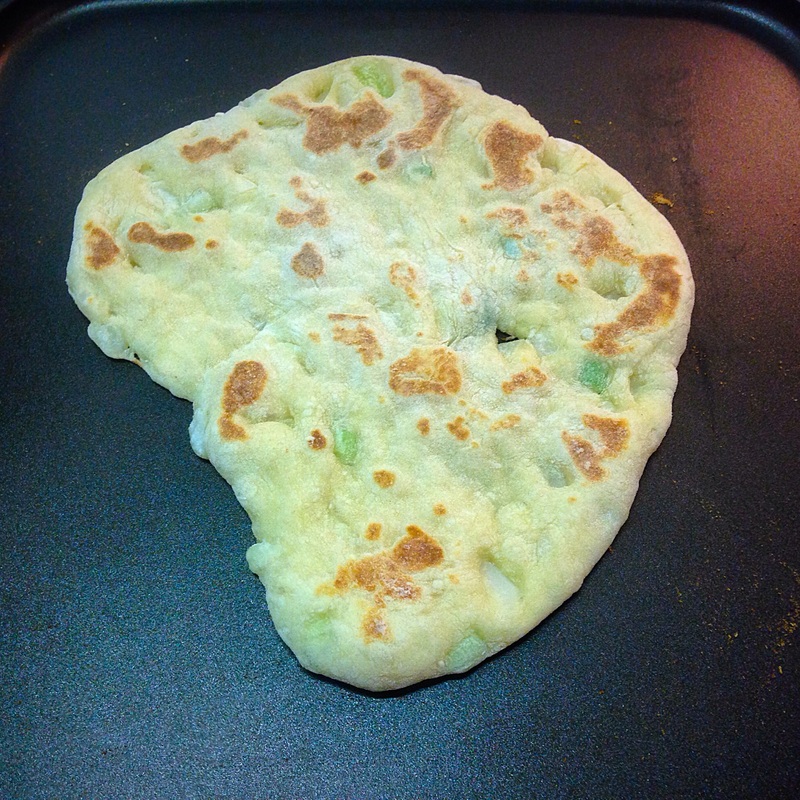
8) If you are doing this stove top, start to heat your skillet under a medium-medium/high flame. Take the first round ball of naan and place it on a slightly floured work surface. You may want to flour the rolling pin too. Roll the Naan out to your desired shape or size. I personally like to make ovals that are about 8" long and 5" wide. You may need to flour and flip the Naan over on its other side as you roll it out to the desired shape.
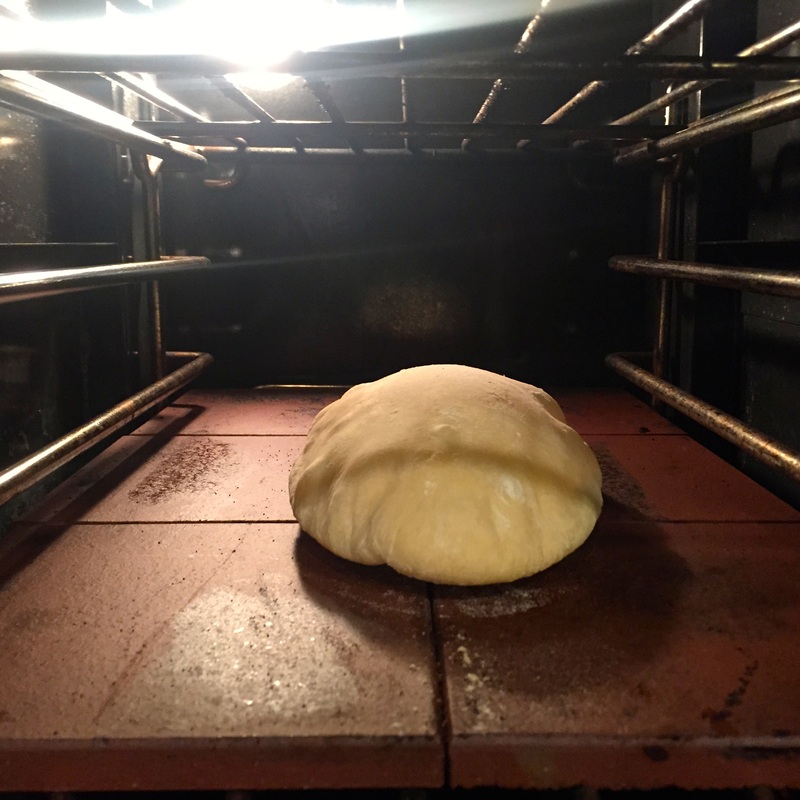
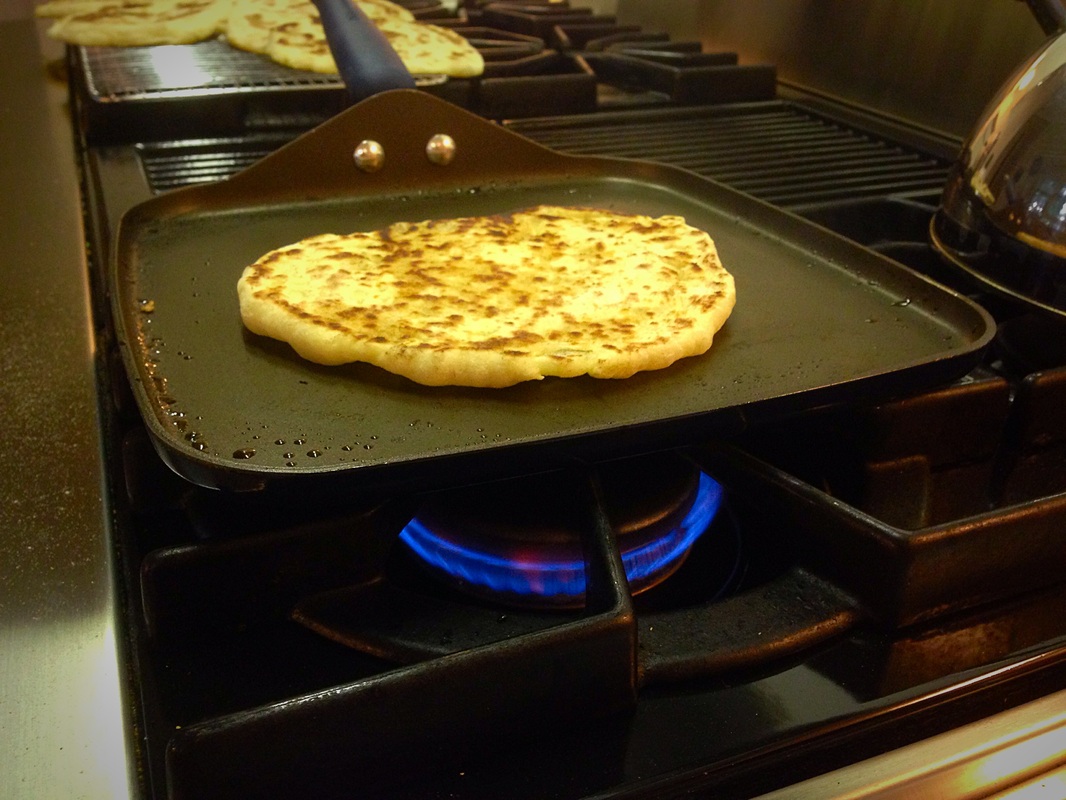
9) As soon as you have the shape, place the naan onto the hot cast iron skillet OR put it on a floured pizza peel/paddle and load it right onto the hot bricks in your oven. In both cases, you will need to watch your naans at all times. After about 2-3 minutes, check the underside of your naan. Watch for browning and puffing. Some naan may not puff all the way, some won't puff at all. It's not bad and won't affect the taste, but it may mean that your heat source isn't hot enough (in the oven on the bricks this is generally not a problem for me).
NOTE: You will need to watch all 12 of them as you bake them--if you walk away they will quickly burn. The key is to have lightly browned/freckled naans and to not let them burn. You will develop a pattern of baking and may even be able to do two at-a-time in the oven after you've done this a few times. If this is your first try, please be safe.
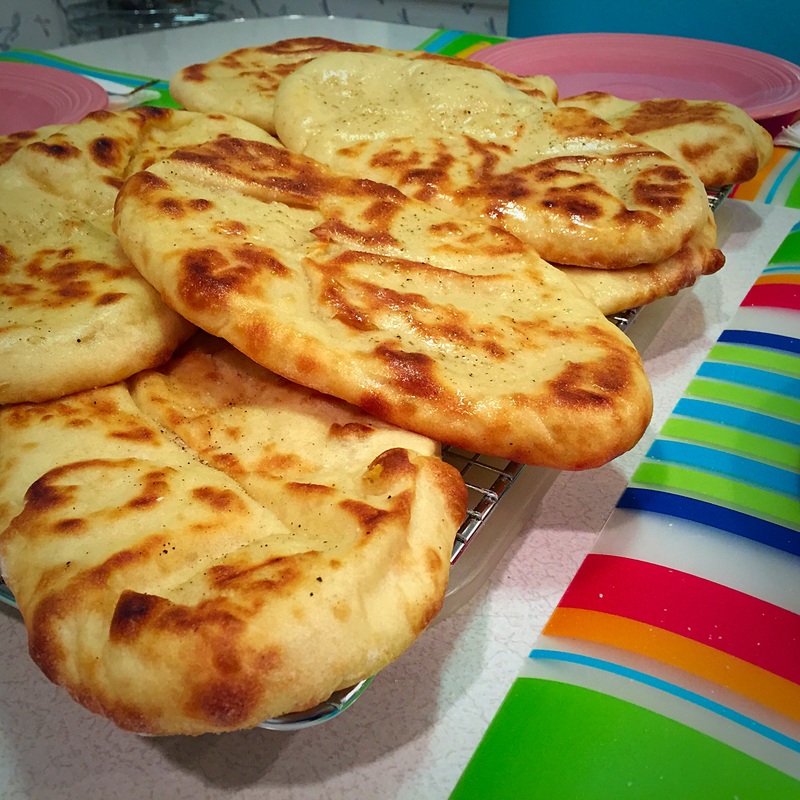
10) When it is a light brown on the bottom or puffed, flip the naan to its other side using tongs. Watch it again for about 2-3 minutes and check the underside. It will start to develop characteristic brown freckling. Medium brown is fine, don't let them get too dark! Remove from the oven/skillet and set aside on a cooling rack.
11) Now start to roll out your second naan and repeat the process. Now that you see how it works, you can probably roll out your next naan while this one is on its side for 2-3 minutes. You will see what works best for you.
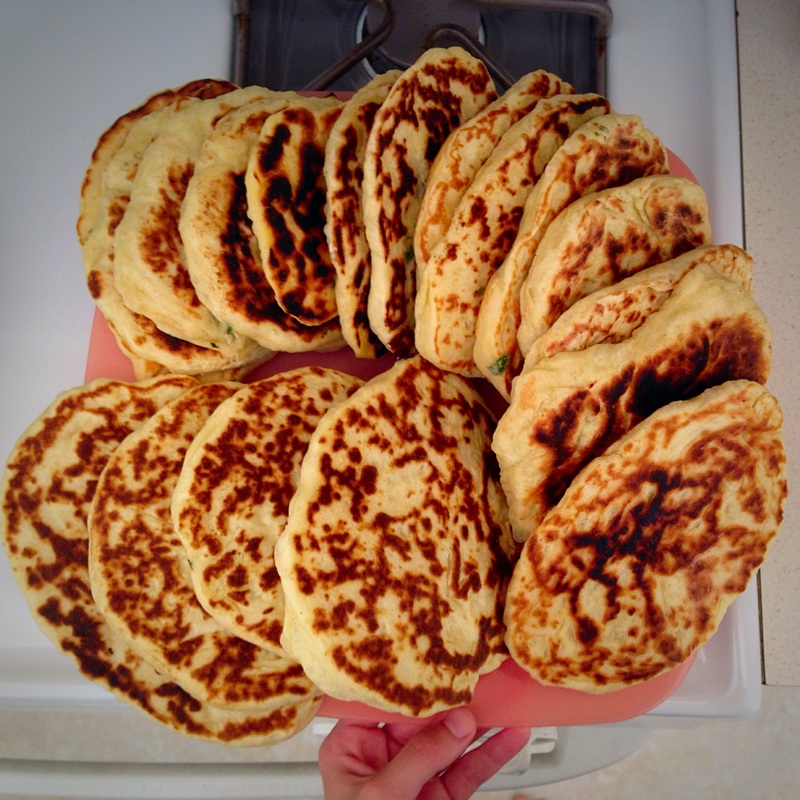
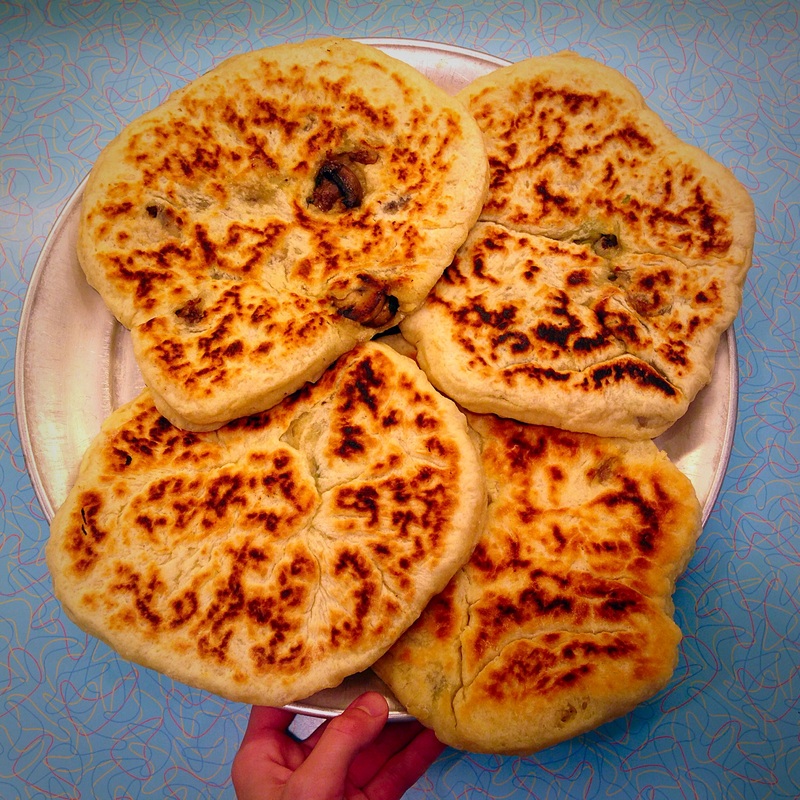
12) Once you get the hang of the process, you can start to brush your cooked naans on the freckled/brown side with butter--either during the 2-3 minutes that you wait to for your naans to cook and brown, or at the end. You can't really leave the kitchen so they will be buttered when they can be buttered. For extra flavor, i sprinkled kosher/sea salt and pepper on them after I buttered them. I liked the effect of this very much.
13) When you are done, let the naans cool on the rack for a bit before serving. You can serve them warm with pretty much anything! Enjoy!
NOTE: Due to lack of preservatives in the dough, the breads taste the best within the first few hours of baking. I would recommend wrapping them in plastic wrap and aluminum foil and freezing them if you plan to eat them more than one day after baking, as they will rapidly become stale.
Ingredients:
For dough:
2 lbs AP or bread flour
3/4 lb warm water, about 95F (you may need to gradually add more water if your mix is too dry)
1 tsp instant yeast
3/4 tsp salt
3/4 tsp sugar
1 large egg, lightly stirred
1/3 cup milk (whole, 2%)
6 oz plain yogurt
1/6 cup olive oil
1 tsp spices (optional--paprika, nutmeg, cumin, saffron, pepper...whatever you like)
For brushing after baking:
Melted butter, 3-4 TBSP
Salt + pepper + herbs/spices, to taste
Other supplies:
Rolling pin
Large bowls for mixing and proofing
Cast-iron skillet or pizza stone/bricks in an oven
Wooden board/pizza peel for loading into the brick oven
Directions:
1) In a large bowl, mix the flour, salt, sugar, instant yeast, and any spices together with a spoon until evenly blended. Then add the warm water, egg, milk, yogurt, and olive oil.
2) Stir continuously, and be sure to incorporate all of the flour and ingredients together in the bowl. Depending on the conditions/humidity in your kitchen, you may need to gradually add more flour if the well-blended mix is wet, or more water if the well-blended mix is too dry/crumbly.
3) Once you've achieved a dough that is slightly tacky in consistency, transfer it to a floured counter and begin to knead the dough, turning it 90 degrees after each push. Continue for about 3 minutes, gently adding flour if it is too sticky. Ultimately the dough should have a very silky, smooth appearance and texture with no discolorations or lumps.
4) Grease a clean, large bowl and transfer your smooth dough into the bowl. Cover with plastic wrap and let rest in a warm area until approximately doubled, about 2-3 hours.
5) Your bread needs to rise only one more time at this point. If you are going to do this in the oven, preheat your oven to 500F (or its highest setting--hotter is better). If you are going to do this stove top, you can start heating a lightly oiled skilled a few minutes before you place your round naans on top of it.
6) Remove the dough from the bowl and transfer to a lightly oiled (I use olive oil) working space. Use a knife to divide the dough into 12 roughly even pieces. Grab the ends of each piece, pinch them together, and roll each piece into a ball/round on the counter with the seam-side down. Do this 12 times so you have 12 balls of dough (see photos above). Cover with plastic wrap on the counter top and let rest for about 20-30min while your oven preheats and the stone becomes very hot (this takes time)
7) Your oven is preheated, your dough has relaxed for 20-30min and you are now ready to shape it. Get some flour to keep near your work area because you may need to add some to your rolling pin or the work area if the dough sticks. Also get a cooling rack or dish where you can place your cooked naan and brush them with butter when they are done.
8) If you are doing this stove top, start to heat your skillet under a medium-medium/high flame. Take the first round ball of naan and place it on a slightly floured work surface. You may want to flour the rolling pin too. Roll the Naan out to your desired shape or size. I personally like to make ovals that are about 8" long and 5" wide. You may need to flour and flip the Naan over on its other side as you roll it out to the desired shape.
9) As soon as you have the shape, place the naan onto the hot cast iron skillet OR put it on a floured pizza peel/paddle and load it right onto the hot bricks in your oven. In both cases, you will need to watch your naans at all times. After about 2-3 minutes, check the underside of your naan. Watch for browning and puffing. Some naan may not puff all the way, some won't puff at all. It's not bad and won't affect the taste, but it may mean that your heat source isn't hot enough (in the oven on the bricks this is generally not a problem for me).
NOTE: You will need to watch all 12 of them as you bake them--if you walk away they will quickly burn. The key is to have lightly browned/freckled naans and to not let them burn. You will develop a pattern of baking and may even be able to do two at-a-time in the oven after you've done this a few times. If this is your first try, please be safe.
10) When it is a light brown on the bottom or puffed, flip the naan to its other side using tongs. Watch it again for about 2-3 minutes and check the underside. It will start to develop characteristic brown freckling. Medium brown is fine, don't let them get too dark! Remove from the oven/skillet and set aside on a cooling rack.
11) Now start to roll out your second naan and repeat the process. Now that you see how it works, you can probably roll out your next naan while this one is on its side for 2-3 minutes. You will see what works best for you.
12) Once you get the hang of the process, you can start to brush your cooked naans on the freckled/brown side with butter--either during the 2-3 minutes that you wait to for your naans to cook and brown, or at the end. You can't really leave the kitchen so they will be buttered when they can be buttered. For extra flavor, i sprinkled kosher/sea salt and pepper on them after I buttered them. I liked the effect of this very much.
13) When you are done, let the naans cool on the rack for a bit before serving. You can serve them warm with pretty much anything! Enjoy!
NOTE: Due to lack of preservatives in the dough, the breads taste the best within the first few hours of baking. I would recommend wrapping them in plastic wrap and aluminum foil and freezing them if you plan to eat them more than one day after baking, as they will rapidly become stale.

 RSS Feed
