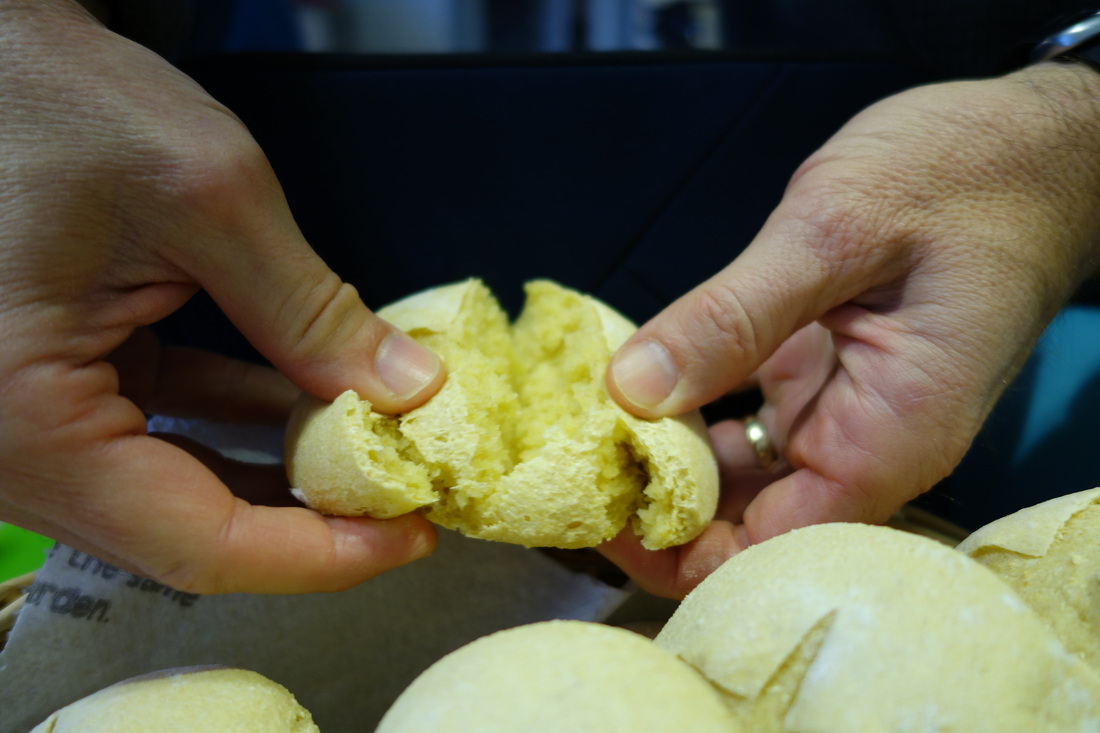
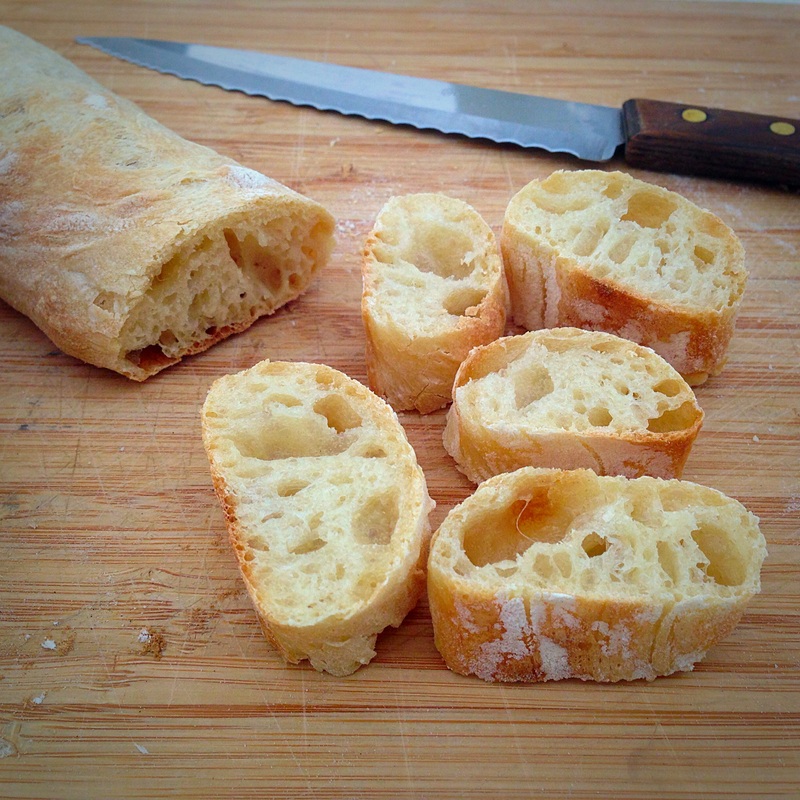
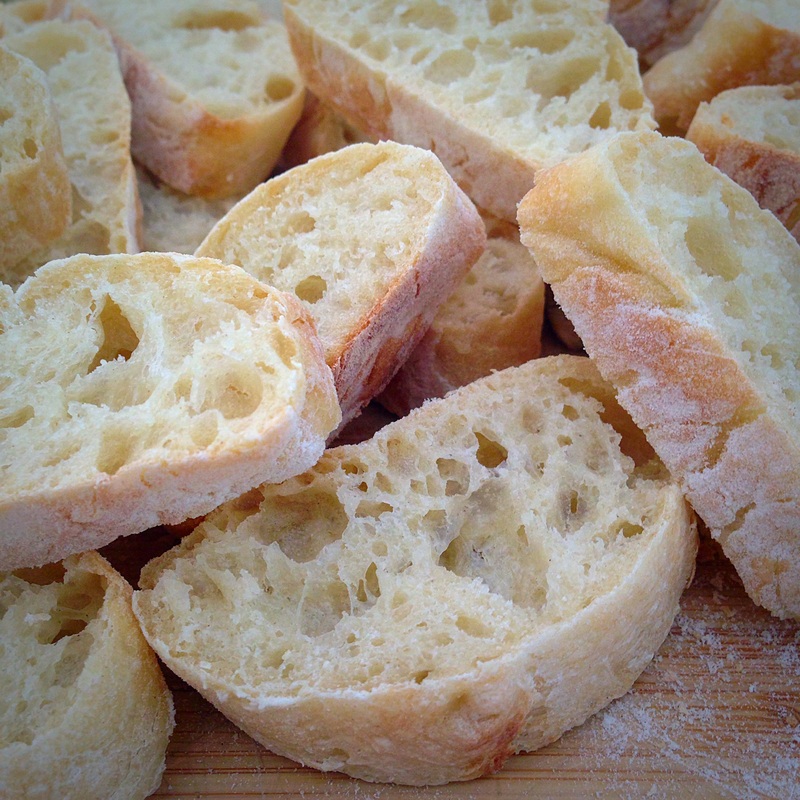
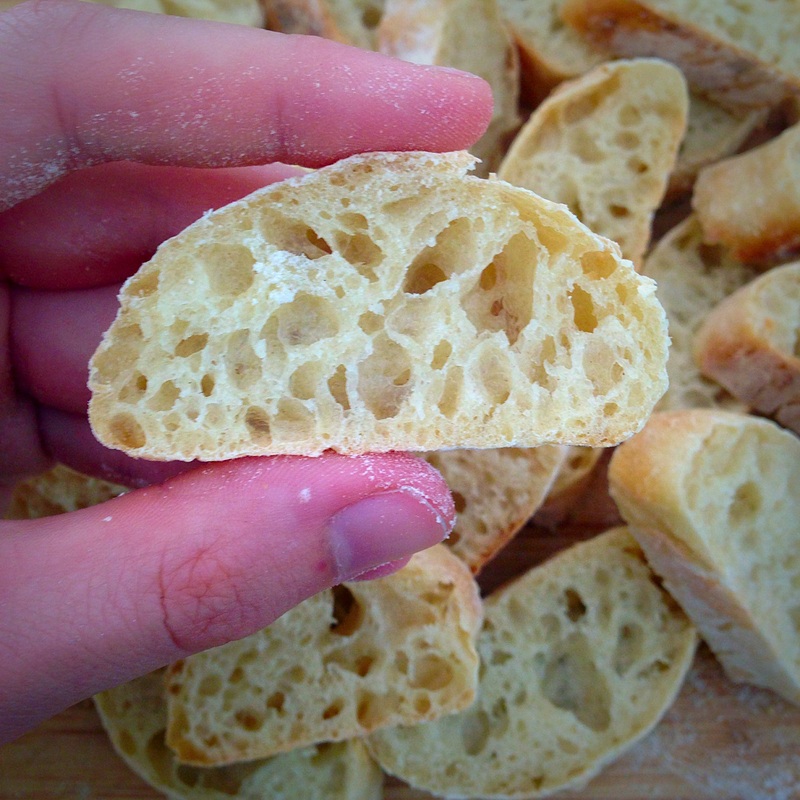
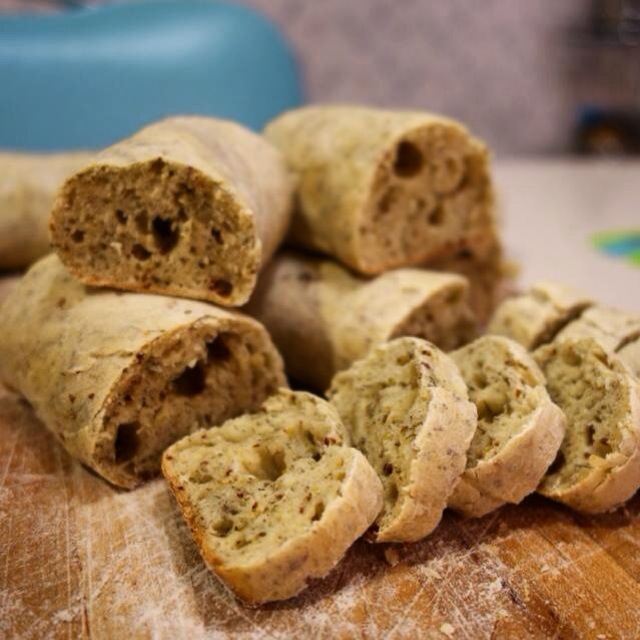
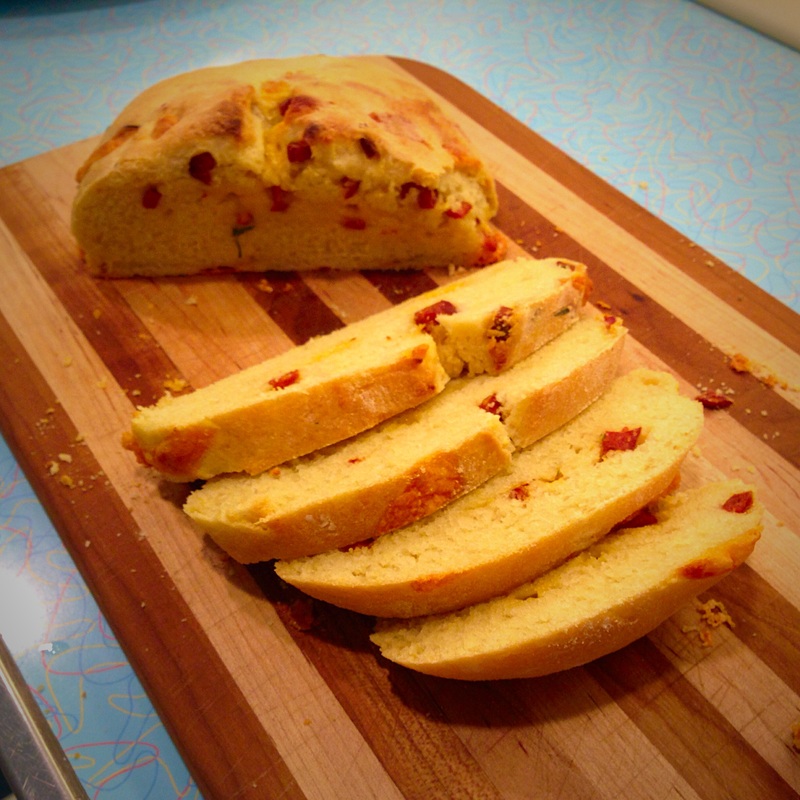
I love this dough. It has multiple desirable characteristics: a crispy crust, inner moisture, and predictability of the final shape after baking. When I studied in France, I spent many afternoons at the outdoor flea markets, browsing through (and purchasing a few) bread books. This dough is inspired by these recipes, and I'm convinced the key ingredients for this absolutely marvelous dough are the yogurt and powdered sugar! Shaping is quite easy, taste is lovely. Bonne chance !

Yield: 8 flower breads (or 4 knobby loafs)
Ingredients:
175ml water
200ml yogurt
1.5 Tsp salt
500g flour
2 Tsp powdered sugar
1 1.4 Tsp instant yeast
Directions:
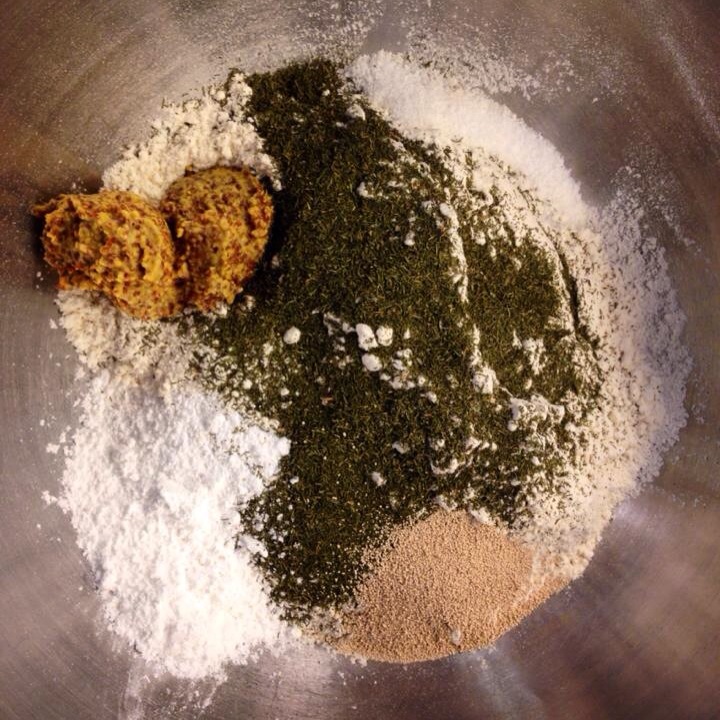
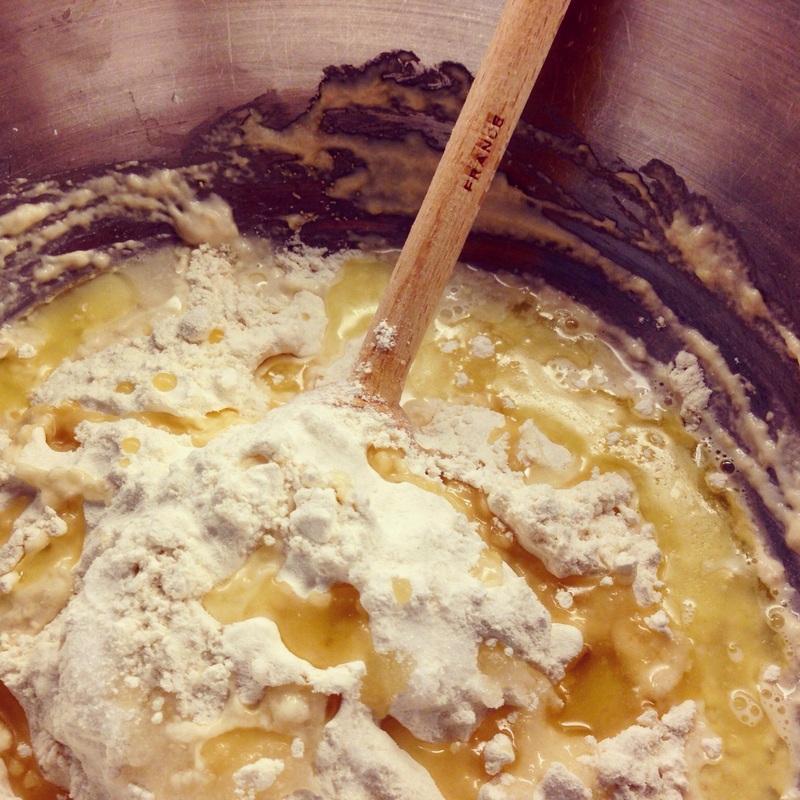
1) Mix all of the dough ingredients EXCEPT the salt in a medium/large bowl— by hand or mixer — until it begins to form strands and come together. THEN add the salt. Continue to mix (about 2min) until a slightly sticky dough is formed. Transfer dough to a lightly floured surface and knead 3-5 minutes until smooth and silky.
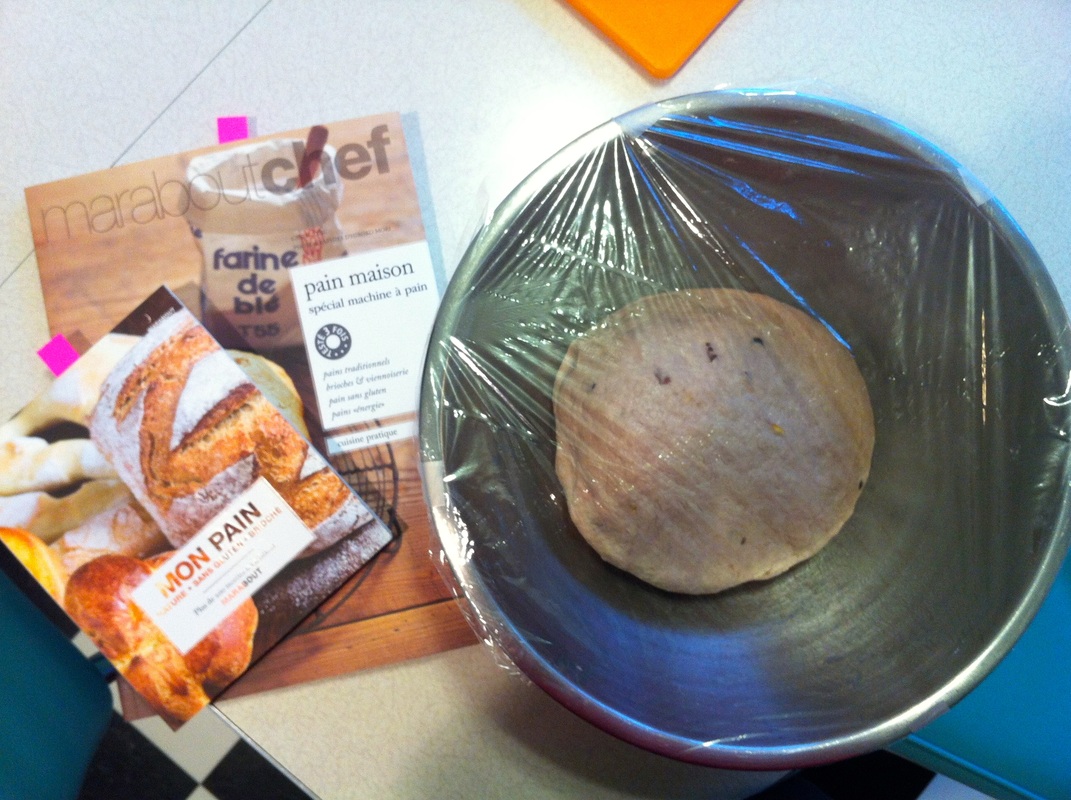
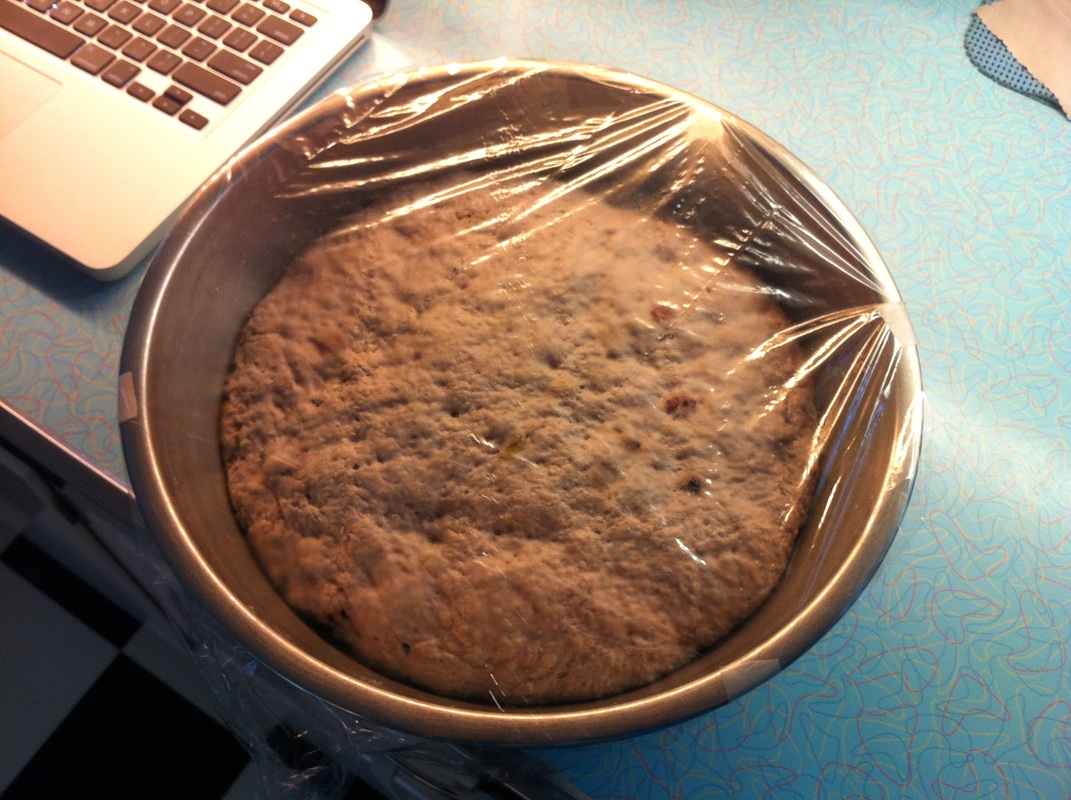
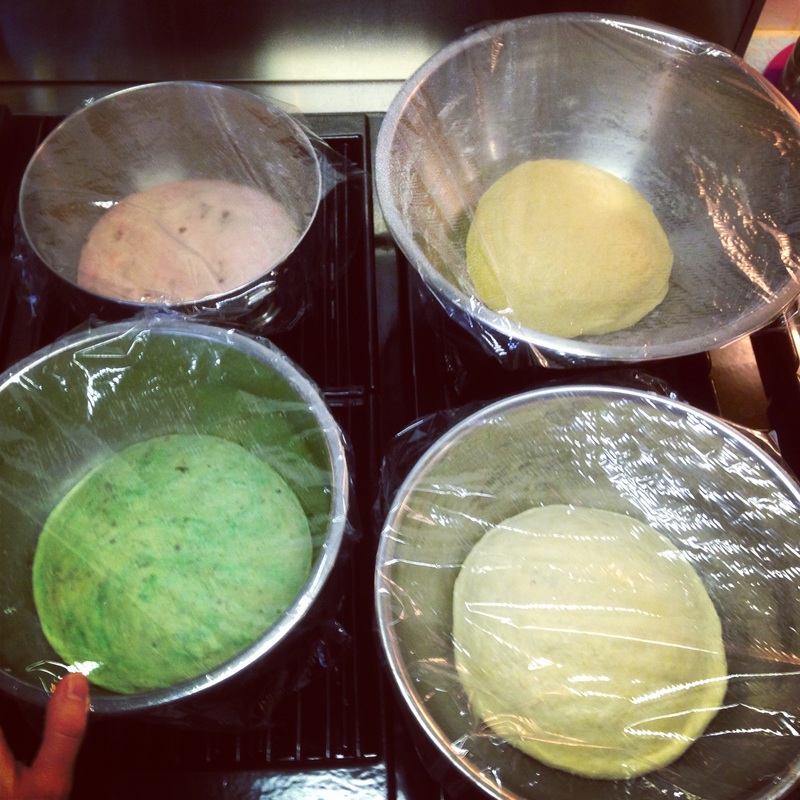
2) Place the dough in a lightly greased bowl and cover with plastic wrap. Let rest in warm place for about 1 hour, until doubled.
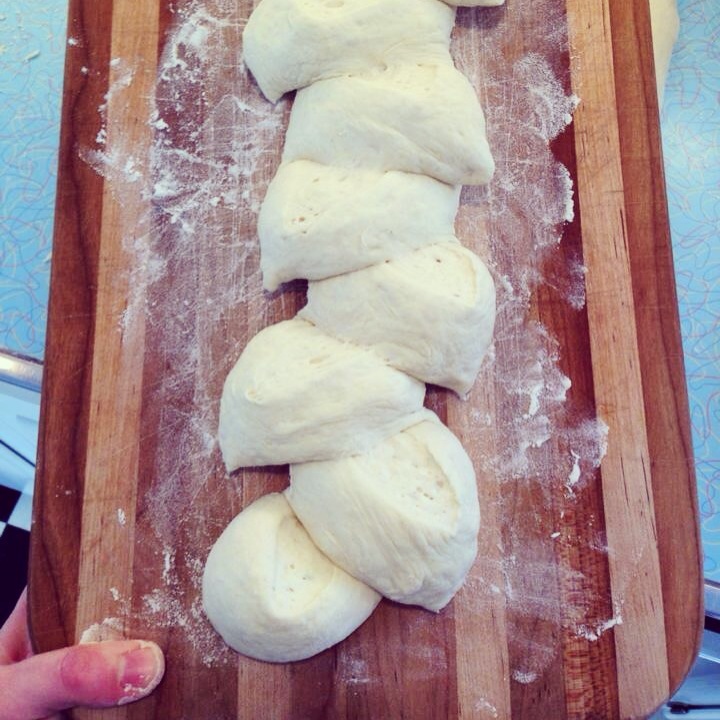
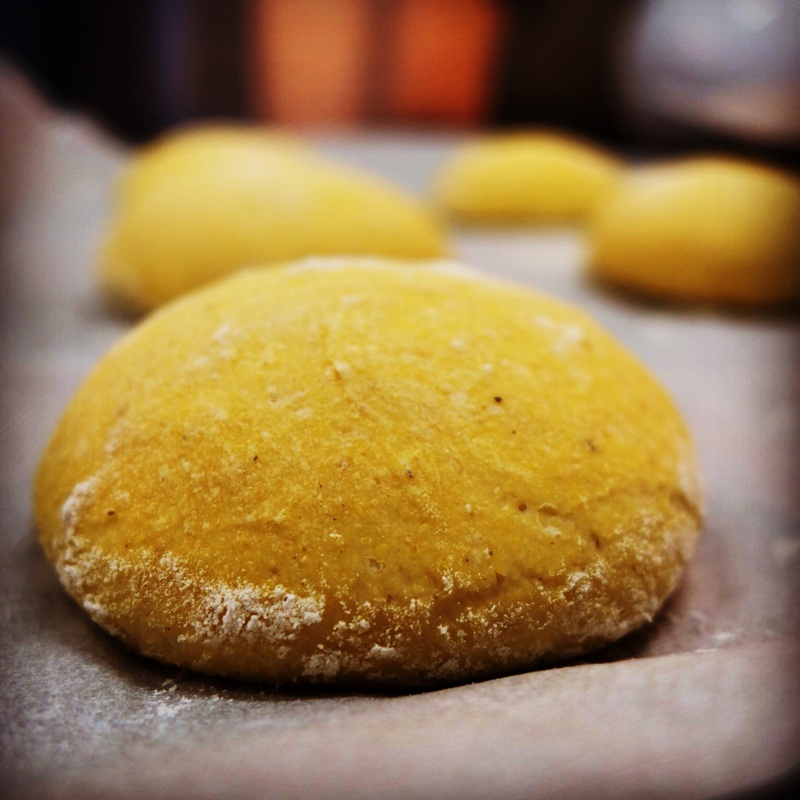
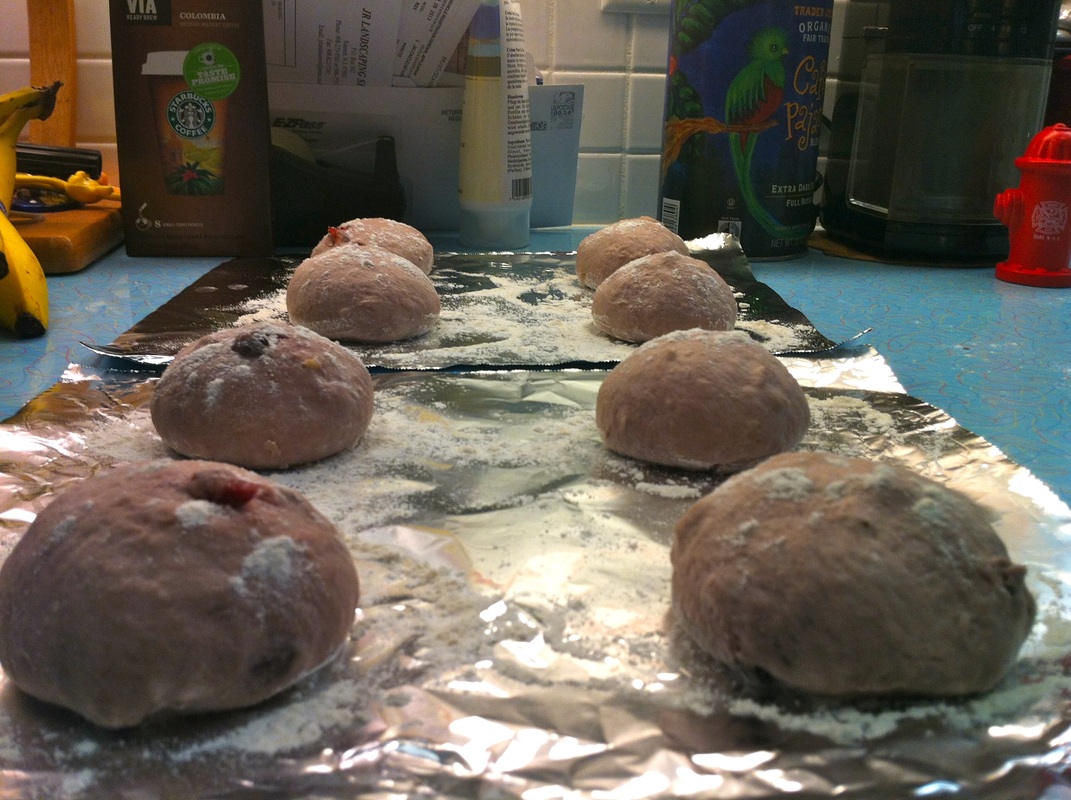
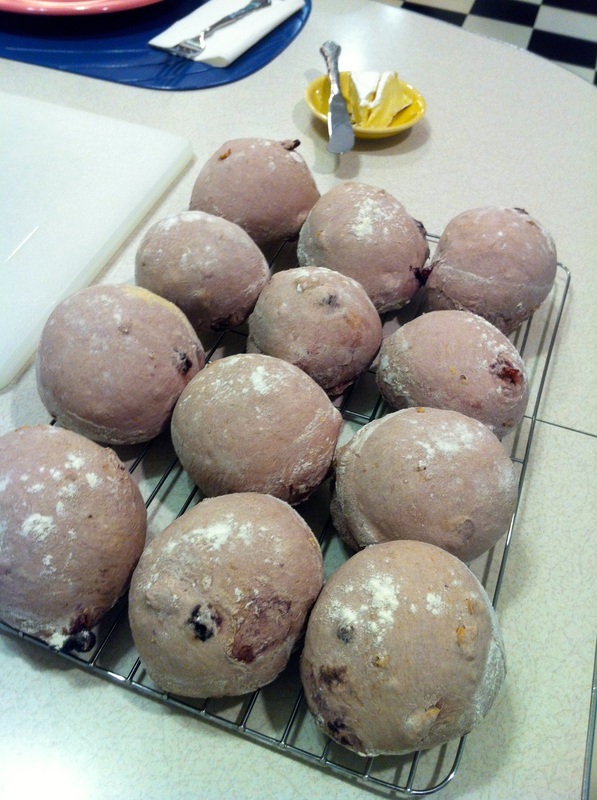
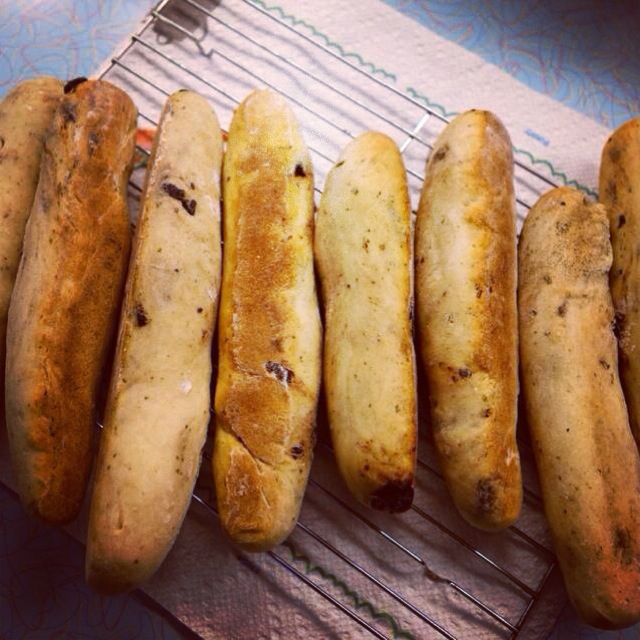
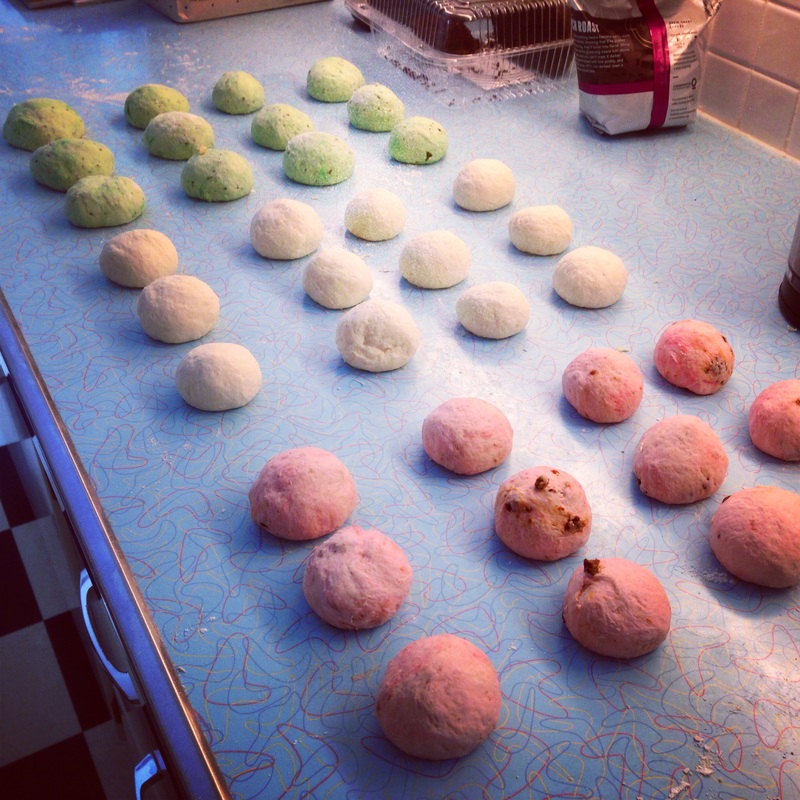
3) Gently deflate the dough, and transfer it to a lightly floured surface. Divide the dough into 8 pieces to form flowers (in this case, form 8 balls with the dough), or 4 pieces to form knobbed loaves (in this case, roll the dough evenly with your hands to form a log, about 14-16" long.
4) Place the balls (or long loaves) on a lightly greased baking sheet, cover, and let rest for 15 minutes (they will puff a little). Preheat the oven to 370°F.
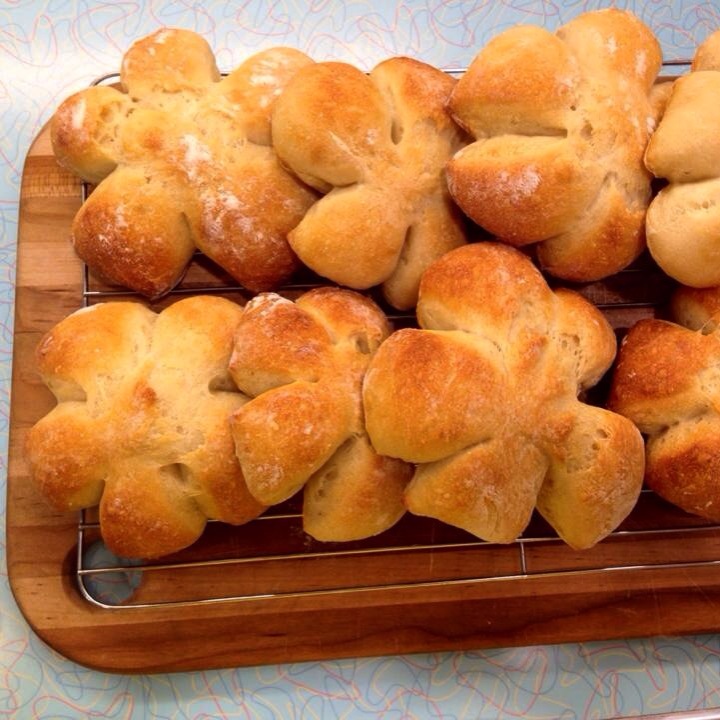
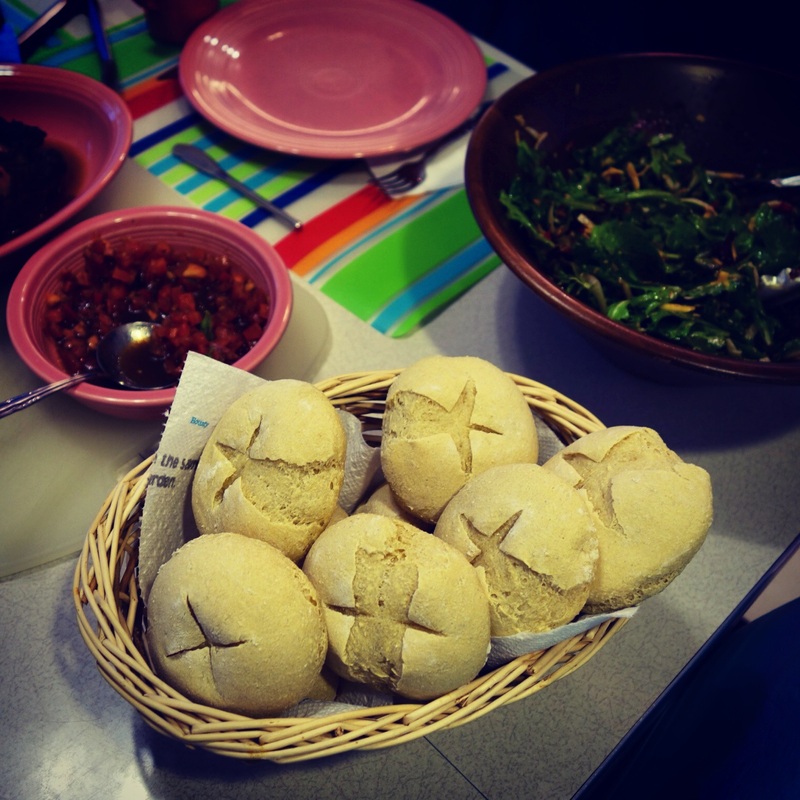
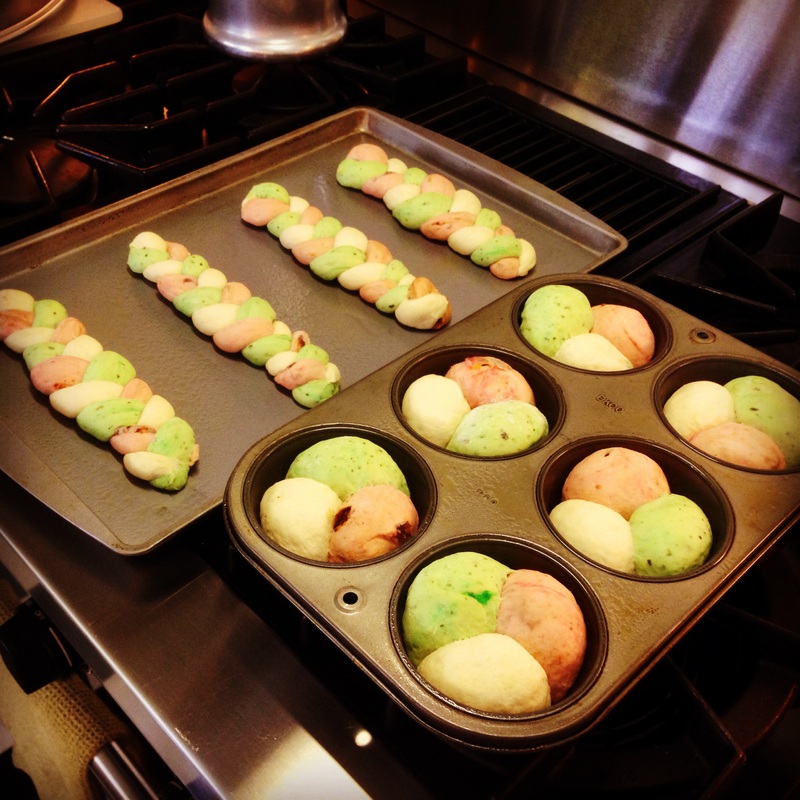
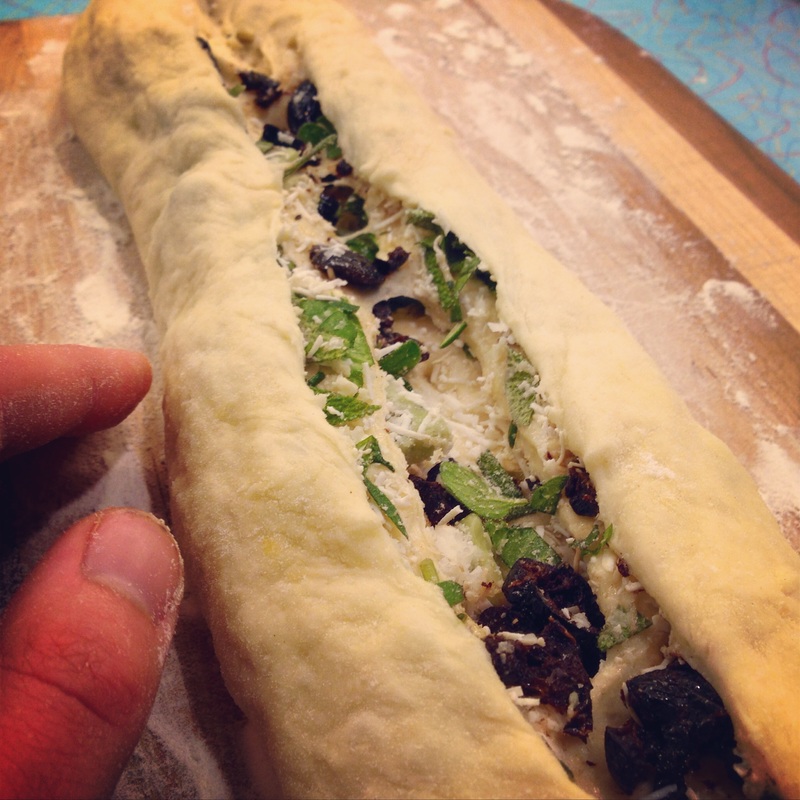
5) Using scissors (or a sharp knife), cut the balls in 5 places (do not cut completely to the center of the ball--see picture above) and spread the petals slightly apart. If you are making the Epi (knobby) loaves, shaping is easy and is well demonstrated in the video below:
Ingredients:
175ml water
200ml yogurt
1.5 Tsp salt
500g flour
2 Tsp powdered sugar
1 1.4 Tsp instant yeast
Directions:
1) Mix all of the dough ingredients EXCEPT the salt in a medium/large bowl— by hand or mixer — until it begins to form strands and come together. THEN add the salt. Continue to mix (about 2min) until a slightly sticky dough is formed. Transfer dough to a lightly floured surface and knead 3-5 minutes until smooth and silky.
2) Place the dough in a lightly greased bowl and cover with plastic wrap. Let rest in warm place for about 1 hour, until doubled.
3) Gently deflate the dough, and transfer it to a lightly floured surface. Divide the dough into 8 pieces to form flowers (in this case, form 8 balls with the dough), or 4 pieces to form knobbed loaves (in this case, roll the dough evenly with your hands to form a log, about 14-16" long.
4) Place the balls (or long loaves) on a lightly greased baking sheet, cover, and let rest for 15 minutes (they will puff a little). Preheat the oven to 370°F.
5) Using scissors (or a sharp knife), cut the balls in 5 places (do not cut completely to the center of the ball--see picture above) and spread the petals slightly apart. If you are making the Epi (knobby) loaves, shaping is easy and is well demonstrated in the video below:
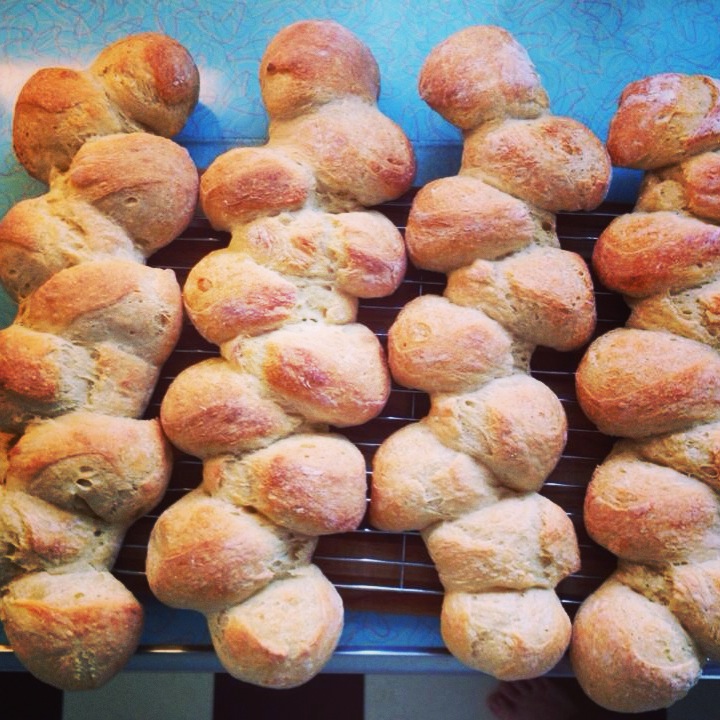
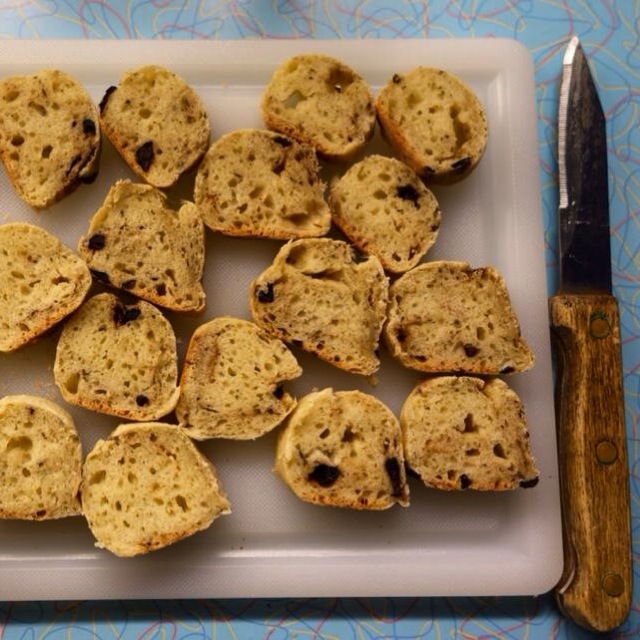
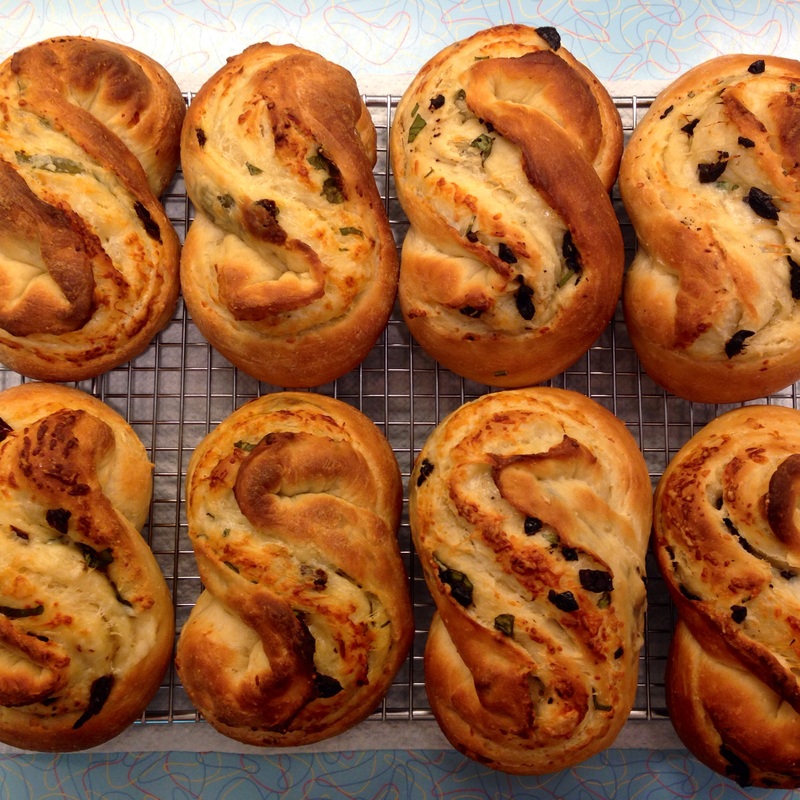
6) Bake the rolls/loaves for 20 to 25 minutes, or until they're a dark, golden brown and sound hollow when tapped on the underside. Remove them from the oven, and transfer to a rack to cool.
NOTE: Due to lack of preservatives in the dough, the breads taste the best within the first few hours of baking. I would recommend freezing them if you plan to eat them more than one day after baking, as they will rapidly become stale.


 RSS Feed
