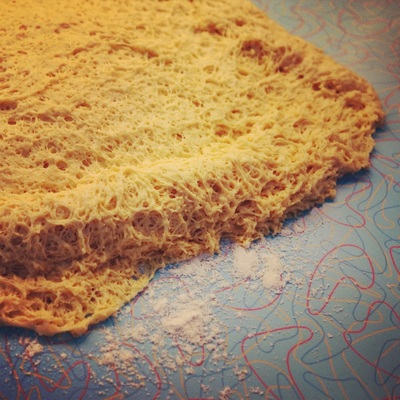
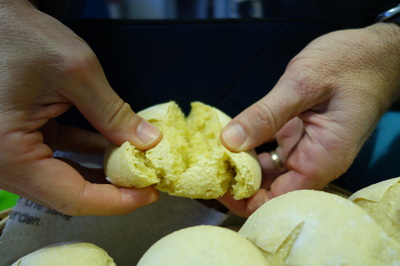
One day I realized I had a bag of corn flour in the kitchen cabinet (from another project) and I decided I had to make bread with it. Cornbread--the mushy richer kind--obviously came to mind. BUT I wanted to use yeast. After much research, I now have a working recipe of yeasted corn breads. The bread itself had a drier consistency, in my opinion, when compared to an entirely wheat-based bread...but that is to be expected when working with corn flour, which has no gluten. If you like a very corny taste, this bread is good to dip (and moisten) in just about any sauce.
Yield: 8 corn rolls
Ingredients:
350g all-purpose flour
180g corn flour
370g water
12g salt
4g instant yeast
28g corn meal (for underside of bread)
Directions:
1) Mix all of the dough ingredients EXCEPT the salt and corn meal in a medium/large bowl— by hand or mixer — until it begins to form strands and come together. THEN add the salt. Continue to mix (about 2min) until a slightly sticky dough is formed. Transfer dough to a lightly floured surface and knead 3-5 minutes until smooth and silky. Depending on the conditions in your kitchen, you may need to add small amounts of water to make the dough more moist, or small amounts of the all-purpose flour to make it more kneadable. I would not add any more corn flour than is called for in the recipe.
2) Place the dough in a lightly greased bowl and cover with plastic wrap. Let rest in warm place for about 1 hour, until doubled.
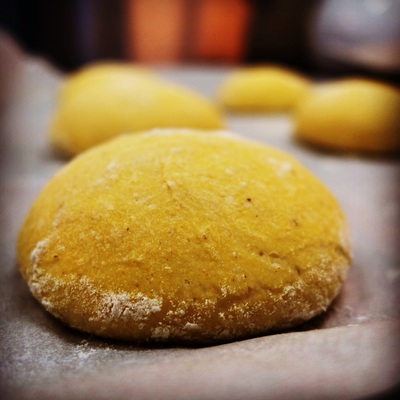
3) Gently deflate the dough, and transfer it to a lightly floured surface. Divide the dough into 8 pieces and form into rounds.
4) Make a small mound of the corn meal on the counter. Place the rounds on a the corn meal and let it stick to the underside of the breads. Cover the breads and allow them let rest for 20-25 minutes (they will puff a little). Preheat the oven to 370°F.
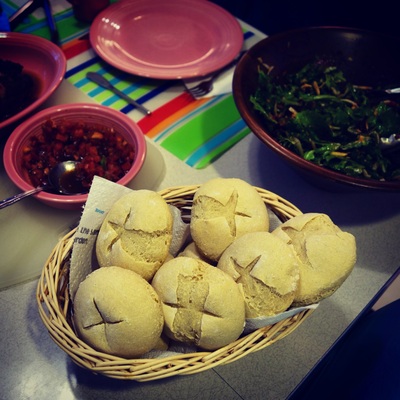
5). Score the top of the breads in an "X" or however you wish, using scissors or a sharp knife. Using a pizza peel, load the breads directly onto the oven bricks (or pizza stone). NOTE: every oven cooks differently, so watch your buns after 10 minutes. The dough is already yellow, but will still become a darker golden-brown color when done. Most importantly, it should sound hollow when tapped on the underside.
6) Remove buns from oven and, after a few minutes, transfer to rack for cooling.
NOTE: Due to lack of preservatives in the dough, the breads taste the best within the first few hours of baking. I would recommend freezing them if you plan to eat them more than one day after baking, as they will rapidly become stale.


 RSS Feed

