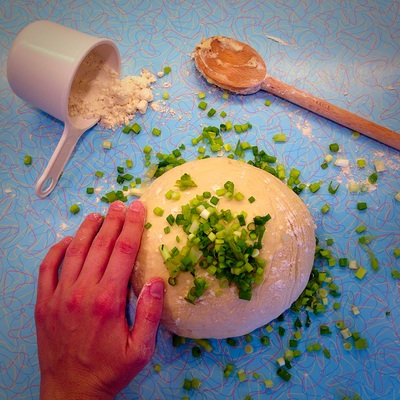
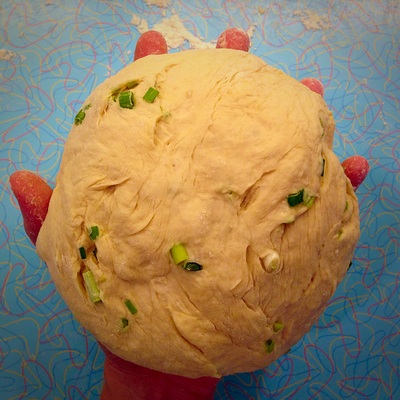
I think pitas are some of the easiest, quickest flat breads you can make. And whether they puff ideally or not, they still taste great in the end and go with just about any dip you can imagine. In the pictures I show here, I had incorporated some scallions (1-2 Tbsp) into the dough. But you can leave them out, I have made many plain batches and they are delicious that way.
Yield: 8 medium pitas
Ingredients:
3 cups (12 3/4 ounces) all-purpose Flour
2 teaspoons instant yeast
2 teaspoons sugar
1 1/4 teaspoons salt
1 cup (8 ounces) water
2 tablespoons olive oil
For brushing after baking:
2 Tbsp melted butter or Olive oil
Directions:
1) Combine and knead all ingredients until smooth and silky (I prefer to knead by hand, but you can use mixer and bread machine if you prefer). Lightly grease large bowl and cover. Let the dough rest 60 minutes until it's quite puffy (not necessarily double in bulk).
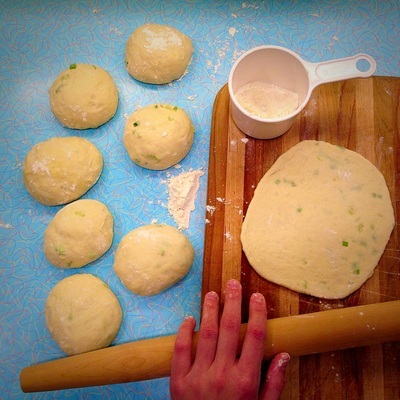
2) Turn the dough onto a lightly oiled work surface and divide it into 8 pieces. Roll the pieces into balls and let rest 15 minutes.
3) Use a rolling pin to flatten several balls into 6" rounds. Let the rounds rest, uncovered, for 20 minutes, while you preheat your oven to 500°F. Make sure that as soon as you put your first pitas in your oven, the next batch is ready to go into the oven. I put mine right on my bricks--you can use a pizza stone but you can grease a cookie sheet and put them on the sheet on the bottom rack of the oven as well.
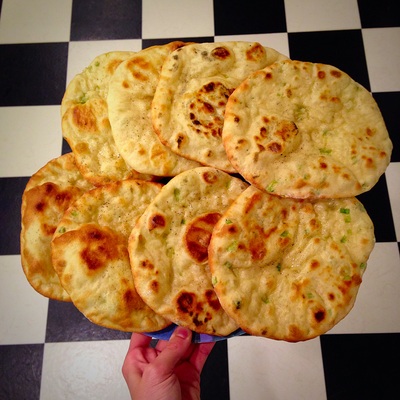
4) These pitas take 2-3min per side in my oven--yours may differ. Keep an eye on them and flip after the first 2-3 minutes. The pitas should puff up within a few minutes. If they don't, wait a minute or so longer. If they still don't puff, your oven may not be hot enough; raise the heat for the next batch if possible. Worst case scenario, whether it be the temperature or the design/function of your oven, your pitas will bubble a little and not puff uniformly. That's okay, don't panic. Wait for them to brown a little, and check for browning when you flip them. They will STILL taste great.
5) Remove the pitas from the oven and use a brush to paint them with melted butter, or alternatively olive oil. This will add a tiny bit more flavor and chewy texture to the breads. Wrap them in a towel (this keeps them soft). When the first batch (however many you could fit on your cookie sheet or stone--I did two at a time) comes out, get the next batch in the oven right away.
6) Repeat the baking steps until finished. Enjoy!
NOTE: Due to lack of preservatives in the dough, the breads taste the best within the first few hours of baking. I would recommend freezing them if you plan to eat them more than one day after baking, as they will rapidly become stale. Alternatively you can store cooled pitas in an airtight container/bag for 1-2 days after baking.


 RSS Feed

