This dough is perfect. It's very flaky and light, yet full of flavor thanks to the key ingredients of butter and egg. You almost can't go wrong with this one. Great flavor, great for shaping, and not messy. I think it's a win.
Yield: 6 medium brioche buns (or 12 smaller buns)
Ingredients:
3 - 3 1/2 cups all-purpose flour
3 Tbsp sugar
1 1/4 Tsp salt
1 tbsp instant yeast
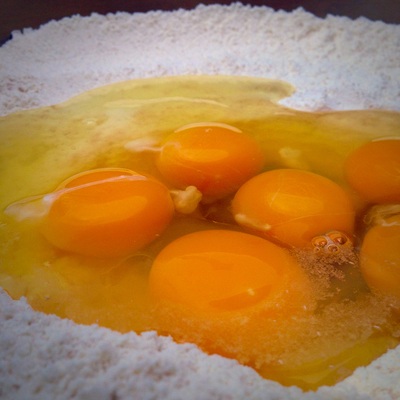
3 large eggs*
1/4 cup milk
10 Tbsp butter
*You can save the white of a 4th egg to brush on the buns if you plan to top them with sugar
Directions:
1) In a mixer or bread machine (programmed for dough), mix together 3 cups of flour and the rest of the ingredients to form a smooth dough. It will be sticky at first and may require the extra 1/2 cup flour to make the dough come together if the conditions in your kitchen differ (temperature, humidity, etc). Remove from mixer and knead with your hands until silky smooth.
2) Form the dough into a ball. Place it in a greased bowl and let rise for ~1hr. Refrigerate the dough for at least 1 hour (until chilled), or as long as overnight. This will slow the fermentation process and will make the dough easier to braid/shape.
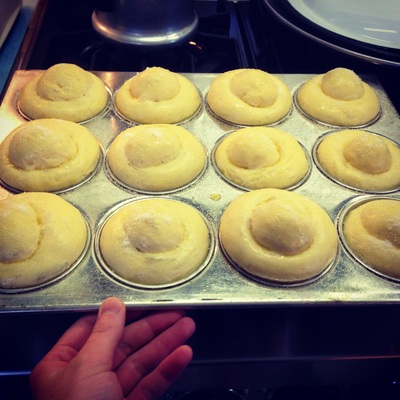
3) Decide which shape you want. For this particular recipe, I took the dough out of the refrigerator and divided it into 6 pieces (you can do 12 smaller brioches).
A nice way to achieve the traditional brioche shape (there are multiple ways) is shown in the video below:
4) Place dough into greased pan(s) of your choice (classic ruffled brioche tins, or just muffin tins), cover lightly, and let rise in a warm place for 1.5-2hrs until doubled (it will look very puffy).
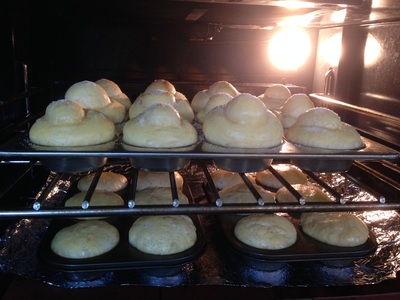
5) Preheat the oven to 375F. Right before the swirls are cooked, you can brush them with the egg white of a 4th egg and sprinkle sugar or cinnamon sugar on top.
6) Place buns (on cookie sheet) in oven and bake for about 30-35min. NOTE: every oven cooks differently, so watch your buns after 10 minutes. The buttery dough should be a golden/deep brown when done, and should sound hollow when tapped on the underside.
7) Remove buns from oven and, after a few minutes, transfer to rack for cooling.
NOTE: Due to lack of preservatives in the dough, the breads taste the best within the first few hours of baking. I would recommend freezing them if you plan to eat them more than one day after baking, as they will rapidly become stale.


 RSS Feed

